
In this article you will learn how to connect the GreatPages form to the Forms P.P.C.T., to track lead conversions in Guru.
To connect, you must access the Forms P.P.C.T. and get the action URL, then paste the URL into the redirect link and configure the name and email parameters in the GreatPages form.
We recommend testing the form to verify if the lead data reaches Guru.
Warning: You must use the standard GreatPages form.
On this page:
-
Step 1: Obtain Destination URL
-
Step 2: Configure redirection in the GreatPages form
-
Step 3: Test the form
Before starting you need:
-
Have a Forms P.P.C.T. created.
-
Have access to a GreatPages environment.
-
Be an administrator user or have permission to perform the actions below.
Step 1: Obtain Destination URL
In this step, you must obtain the action URL of the Forms P.P.C.T., which you will use as a base to build the redirect URL for the GreatPages form.
Steps:
1 - Access the Guru admin with your username and password.
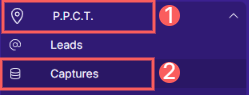
2 - In the side menu, access P.P.C.T., and then click on Capture.
3 - Select the P.P.C.T. you want to Connect.
4 - Under Details, click to copy the Form Code.

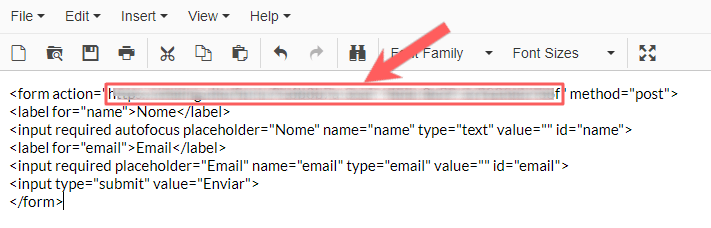
5 - Paste the Form Code into a Text Editor of your choice (e.g., Notepad).
6 - Copy the Value of the action, which is inside quotes.
Step 2: Configure redirection in the GreatPages form
In this step you will enable sending captured data from GreatPages to Guru (Forms P.P.C.T.).
Steps:
1 - Access your GreatPages environment with your username and password.
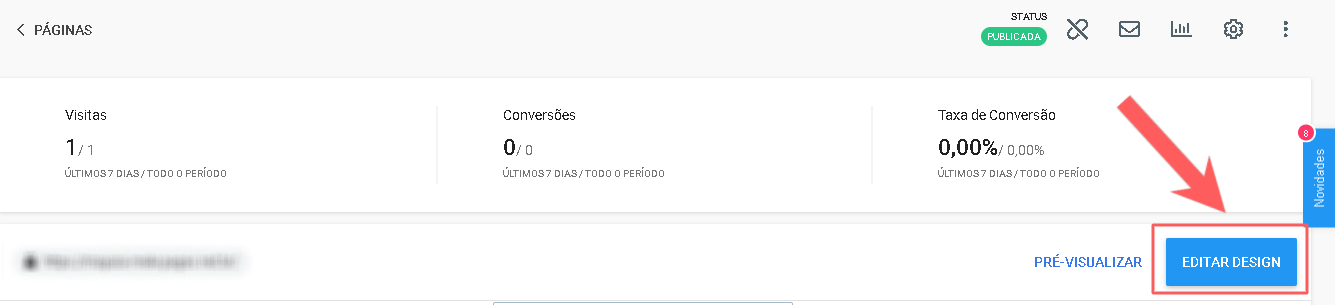
2 - Locate the Form you want to connect and click on Edit.
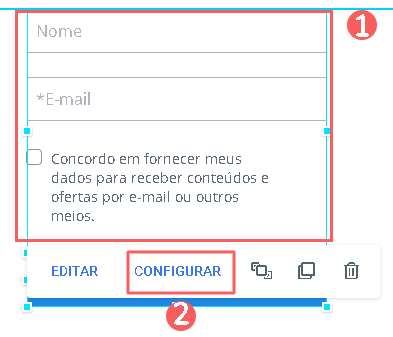
3 - Click on the Form, and then Configure.
4 - Under Settings, click on Configure, then under Redirect Link paste the URL copied in step 1 item 6.
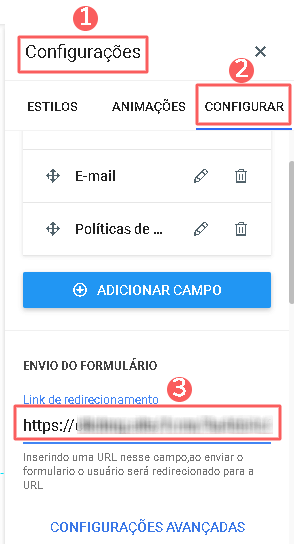
5 - Next, click on Advanced Settings.

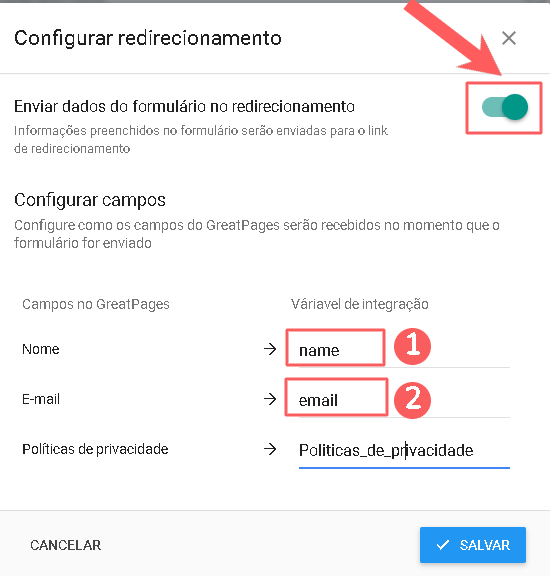
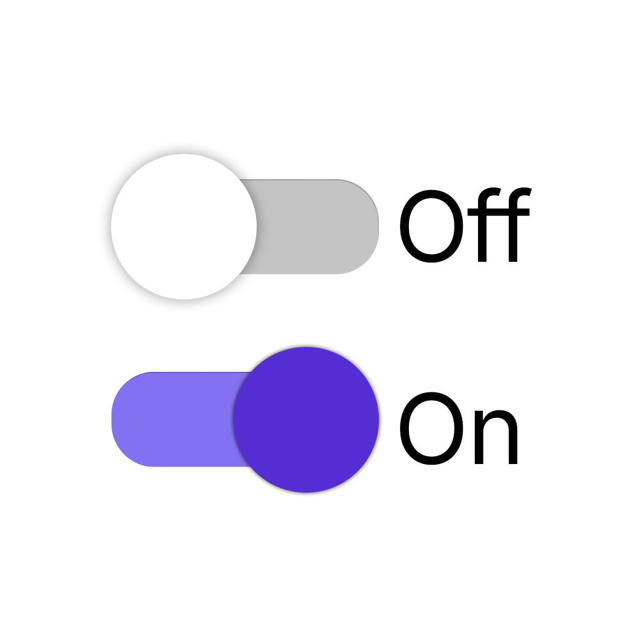
6 - Toggle the button to the ON position, and enter:
-
Name: name;
-
Email: email.
7 - Click on Save and then Publish.
Step 3: Test the form
In this step, you should test the form with test data and confirm whether it appears in the lead list of the connected Forms P.P.C.T..
Steps:
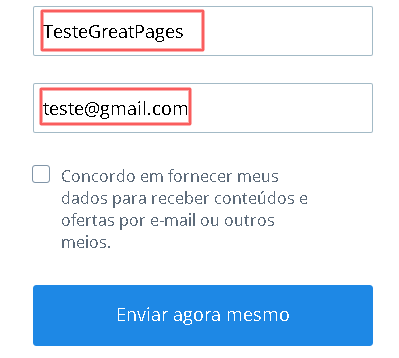
1 - Preview the form page, fill in with test data and submit.
2 - Next, return to the Guru admin.
3 - In the side menu, access P.P.C.T., and then click on Captures.
4 - Select the P.P.C.T. that you connected.
5 - Next, under Leads check if the Email entered in the test appears in the Leads list.
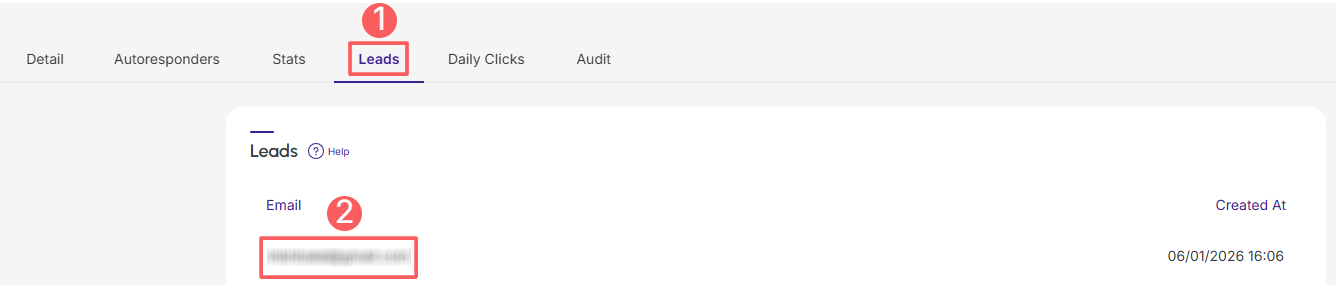
If the email used is in the Leads list, the P.P.C.T. is connected to the form.