
it is possible to configure the customizable fields of the form, to update or remove the fields from your event's registration form.
On this page:
-
Update form field
-
Remove form field
Update form field
Once created, it is possible to update the form field. This feature is useful when you need to change the triggering rule.
Steps:
1 - Access the desired ticket - a screen with the data will be displayed.
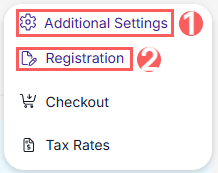
2 - Click on Additional Settings and then on Registration.
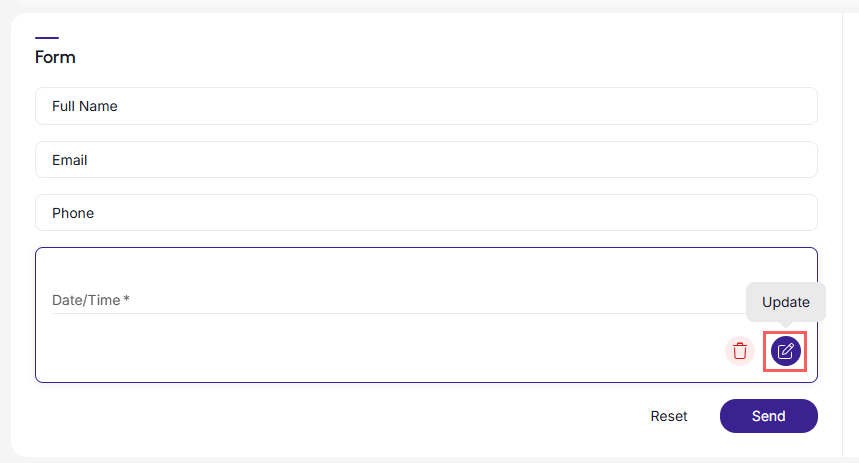
3 - In the Form field, click on Update.
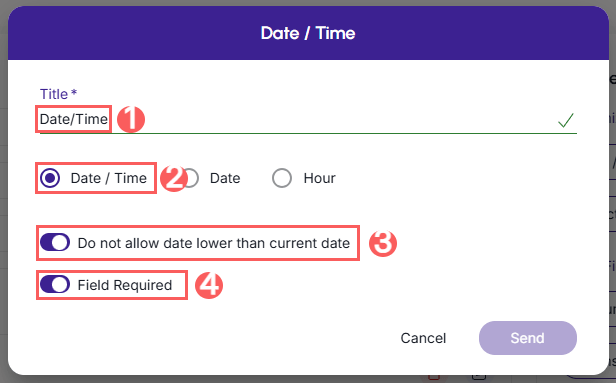
4 - In the Customizable Field, as in the Date/Time example, inform:
-
Title: enter a title for the field;
-
Date/time: select the date/time field;
-
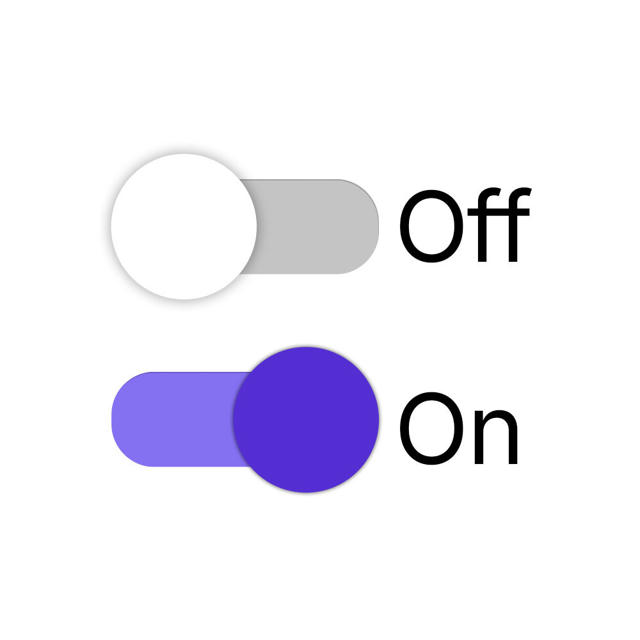
Do not allow date lower than current date: when enabled, does not allow entering a date earlier than the current date;
-
Field required: when enabled, the document field will appear as a mandatory field.
The update setting will be available for all fields, as long as the field is added to the form.
5 - Click on Send.
Remove form field
Once created, it is possible to remove the form field. This feature is useful when you do not want to add the smart field.
Steps:
1 - Access the desired ticket - a screen with the data will be displayed.
2 - Click on Additional Settings and then on Registration.
3 - In Form, click the Remove button corresponding to the form field.
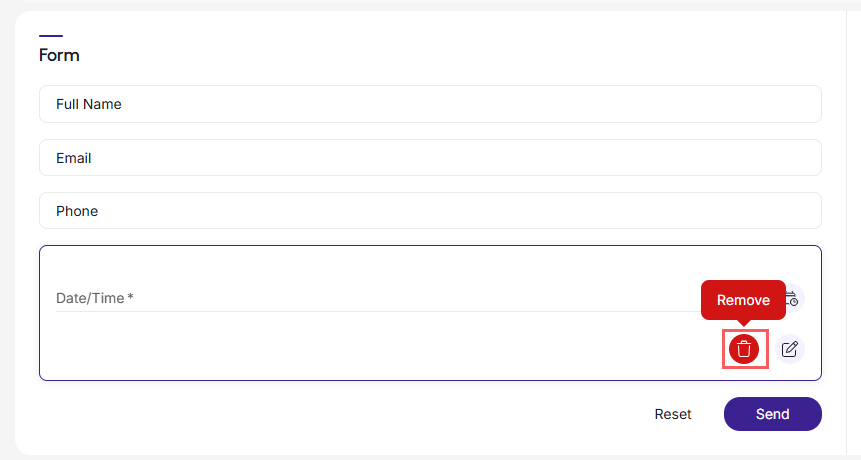
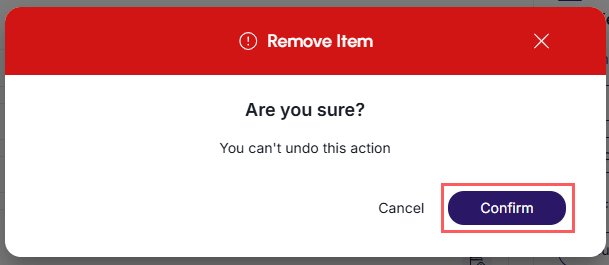
4 - Confirm if you want to perform the deletion. To confirm that the field has been deleted, a message will be displayed for a few seconds at the top right of the page.
The remove setting will be available for all fields, as long as the field is added to the form.