
The tickets registered in Guru are automatically listed in the section E-tickets.
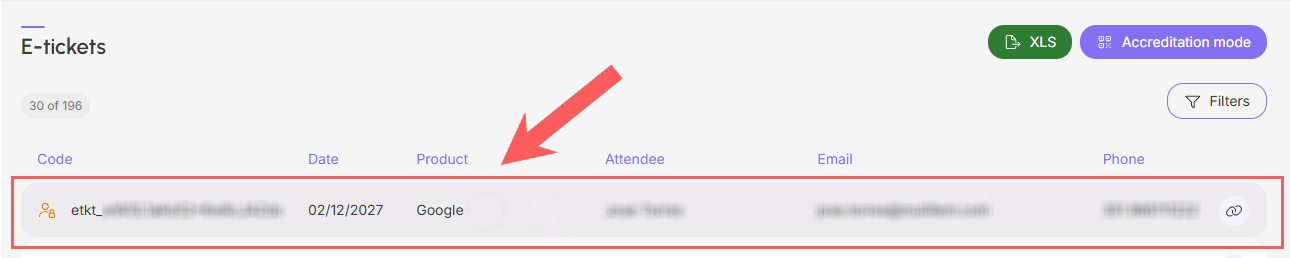
To find tickets in a list with many records, you can search and filter the list if you want to consult and view ticket information such as code, date, product, participant, email, and mobile number from the ticket list.
On this page:
-
Consult the ticket list
-
View ticket data
-
How to filter the ticket list
-
Manage ticket filters
-
Before you start, you need to…
-
Be an administrator or have permission to perform the following actions.
-
Have one or more registered tickets in Guru.
Consult the ticket list
By default, the ticket list is organized by update date (from newest to oldest), according to the column Started on. For faster page loading, only the first 30 records are displayed. If you want to view the other items in the list, you can scroll to the end of the page and click on View more at the bottom center of the screen.
The list displays the following information:
-
Status: displays the current ticket status - one of the ticket statuses will be displayed, such as Open, Assigned, Invited, Checked-in, Canceled;
-
Code: displays the ticket identification code;
-
Date: displays the ticket creation date;
-
Product: displays the name of the event linked to the ticket;
-
Attendee: displays the name of the attendee who received the ticket invitation;
-
Email: displays the email of the participant who received the ticket invitation;
-
Phone: displays the contact number of the participant who received the ticket invitation.

View ticket data
You can view1 all ticket information or modify1 a ticket (send invitation, cancel invitation, check-in participant, cancel participant check-in, and cancel ticket).
(1) permission is required to perform these actions.
Steps:
1 - Access the ticket list - if desired, you can apply a filter.
2 - Locate the desired ticket in the list.
3 - Click on the desired ticket.
4 - Consult the ticket information.
How to filter the ticket list
You can use filters to view a smaller subset of existing tickets. This feature is useful for finding specific tickets you want to view.
By default, only records from the last 28 days will be shown, but the date can be changed in the filters in the Period field.
Steps:
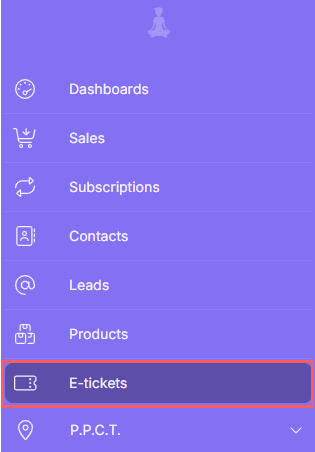
1 - In the side menu, access E-tickets.
2 - Under E-tickets, click on Filters.
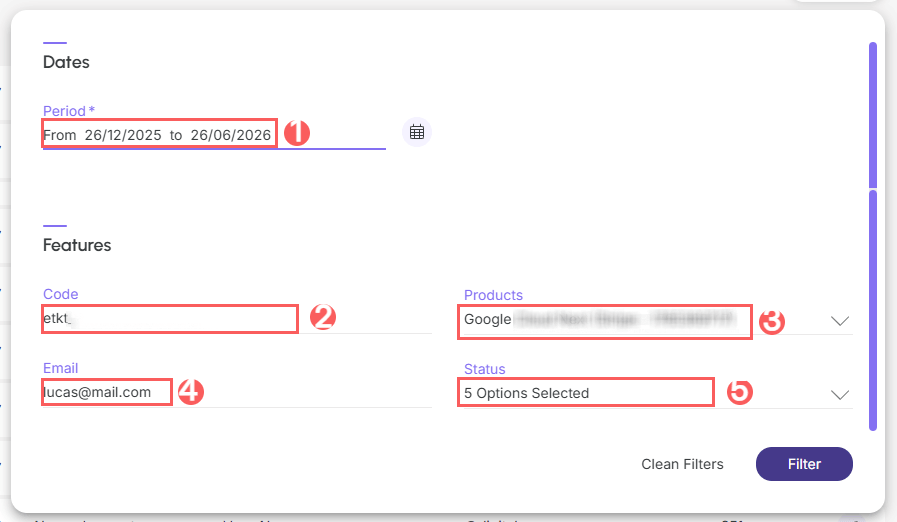
3 - Fill in one or more filter options:
-
Period: searches for tickets by event date - you can use the predefined time range buttons or select the date you want to view;
-
Code: searches for the ticket with the informed identification code;
-
Products: searches for the event name linked to the ticket;
-
Email: searches for tickets where the attendee (contact) email is associated;
-
Status: searches for tickets with statuses corresponding to those selected (Open, Assigned, Canceled, Checked-in, or Invited) - if you want to filter all tickets, regardless of status, just select all.
4 - Click on Filter.
To remove the applied filters, just click on Clear Filters.
Manage ticket filters
You can check the number of filters applied when using filters to view the information you want. This feature is useful if you want to check how many filters have been applied.
In addition, it is possible to clear the filters without accessing the Filters icon again, facilitating the removal of applied filters.
Consult applied filters
You can check the number of applied filters.
Steps:
1 - In the side menu, go to Tickets. After the page loads, a list with all tickets will be displayed.
2 - In Tickets, click on Filters.
3 - Fill in one or more filter options - apply the filters you want to consult.
4 - Then, the number of applied filters will appear on the screen.

If you want to apply other filters, click How to filter the Tickets list.
Clear applied filters
You can remove the applied filters without needing to click on the filters icon.
Steps:
1 - In the side menu, go to Tickets. After the page loads, a list with all products will be displayed.
2 - In Tickets, click on Filters.
3 - Fill in one or more filter options - apply the filters you want to consult.
4 - Then, click on Clean Filters.

If you want to apply filters, click How to filter the Tickets list.
More Resources