
it is possible to make several modifications to tickets, according to customer needs. This feature is useful for sending an invitation, canceling a sent invitation, checking in a participant, canceling a participant's check-in, and canceling a ticket.
On this page:
-
Send invitation
-
Cancel invitation
-
Check in participant
-
Cancel participant check-in
-
Cancel ticket
-
Anonymize ticket data (E-tickets)
Before you start, you need to…
-
Be an administrator or have permission to perform the following actions.
-
Have one or more registered tickets in Guru.
Send invitation
You can send an invitation for a created event to a participant's email at any time.
Steps:
1 - Select the desired ticket - a screen with the data will be displayed.
2 - In the Details section, click on Send Invitation - a new window will be displayed.
3 - Enter the Email to whom you want to send the invitation.
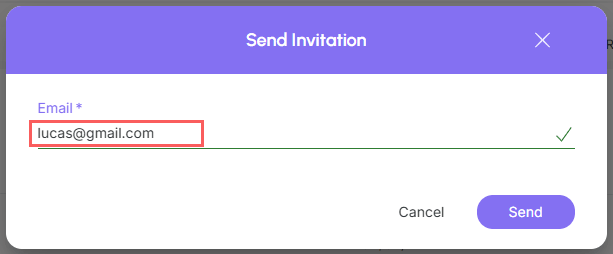
4 - Click Send to save the changes.
An email will be sent to the participant for them to confirm their registration and generate the ticket.
Cancel invitation
You can cancel an invitation sent to a participant at any time. This option is useful when you no longer wish to invite the participant.
Steps:
1 - Select the desired ticket - a screen with the data will be displayed.
2 - In the Details section, click on Cancel Invitation - a new window will be displayed.
3 - A confirmation window is displayed. If you wish to proceed with the removal, click Confirm.
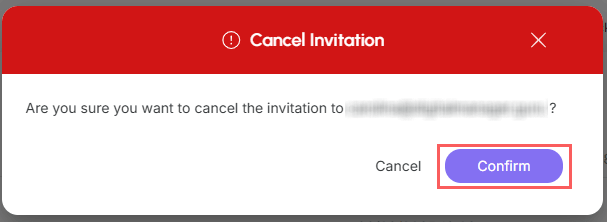
The invited person will no longer have access to the invitation. They can send a new invitation to another email, or even to the same one.
Check in participant
You can check in a participant. This option is useful when you want to anticipate a participant's check-in to an event.
Steps:
1 - Select the desired ticket - a screen with the data will be displayed.
2 - In the Details section, click on Check-in Attendee - a new window will be displayed.
3 - A confirmation window is displayed. If you wish to proceed with the check-in, click Confirm.
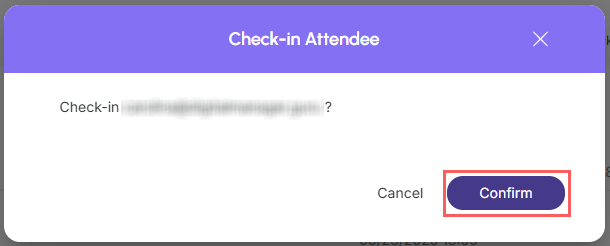
Done! Check-in successfully confirmed. From now on, it will not be possible to access the generated ticket.
Cancel attendee check-in
You can cancel a participant's check-in at any time. This option is useful when you no longer wish to anticipate the participant's check-in or need to access the generated ticket.
Steps:
1 - Select the desired ticket - a screen with the data will be displayed.
2 - In the Details section, click on Cancel Check-in - a new window will be displayed.
3 - A confirmation window is displayed. If you wish to proceed with the Check-in cancellation, click Confirm.
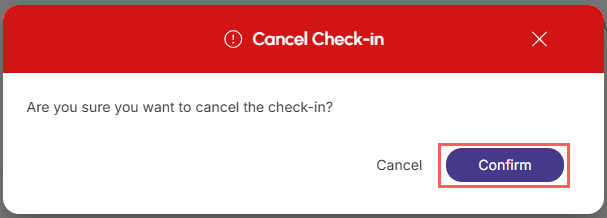
Done! Check-in successfully canceled. It will be possible to check in again, whenever you want, through the accreditation mode or manual check-in.
Cancel ticket
It is possible to cancel an active ticket at any time. This option is useful when the participant does not wish to attend the created event.
Attention: Once canceled, it will not be possible to perform any type of action on the ticket.
Steps:
1 - Select the desired ticket - a screen with the data will be displayed.
2 - In the Details section, click on Cancel E-ticket - a new window will be displayed.

3 - A confirmation window is displayed. If you wish to proceed with the removal, enter the Reason for cancellation and click Send.
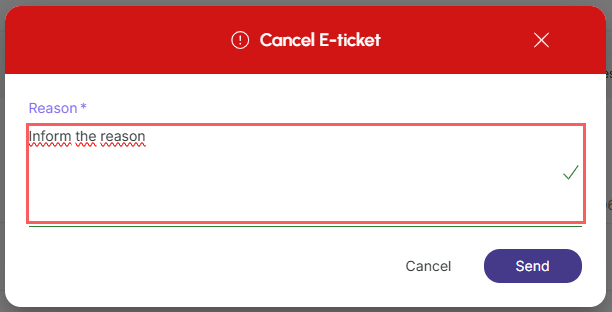
Done! Ticket successfully removed. It will not be possible to perform any type of action on this ticket.
Anonymize ticket data (E-tickets)
Through the anonymize function1, you can scramble the personal data of a ticket so that it can no longer be identified within the system.
This feature is useful when you receive an anonymization request from the contact themselves, a right guaranteed by the General Data Protection Law (LGPD).
1 Data processing technique capable of modifying or removing information that identifies an individual. Through this technique, the link between the registration and a specific person is completely lost.
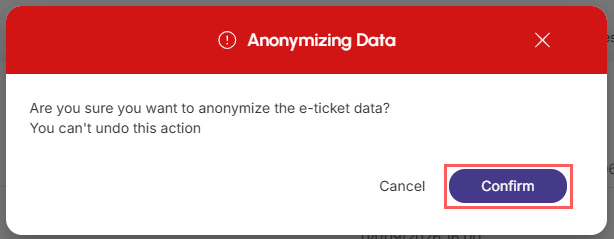
After confirming anonymization, the action cannot be undone.
Steps:
1 - Select the desired ticket - a screen with the data will be displayed.
2 - In the Details section, click on Anonymize - a new window will be displayed.
3 - A confirmation window is displayed. If you wish to proceed with the anonymization of the E-ticket data, click Confirm.
If the e-ticket has already been assigned (with all contact data filled in) and is subsequently anonymized, it will not be possible to check in. In other words, this action cannot be undone.