
In section My Account you manage the platform subscription and find all information related to your Guru account, including registration and billing data, payment history, respective invoices (receipts), referral program, and credits used.
On this page:
-
Access account data
-
Manage account registration
-
Configure Time Zone
-
Get API Token
-
Generate new Token
-
-
Manage your Guru plan
-
Check payment receipts (invoice)
-
Manage friend referrals
-
Check account credits
-
Configure authentication methods
-
Audit
Before you begin, you need to…
-
Be an administrator user or have permission to perform the following actions.
Access account data
In this section you can access your account details.
Steps:
1 - Access the guru admin with your username and password.
2 - In the upper right menu, click My Account.
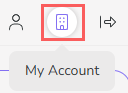
3 - A window with your Guru account data will be displayed, containing the following tabs:
-
Details: view registration and billing data for your Guru account or obtain your API key;
-
Subscription: view details and manage your Guru subscription (plan change, credit card update, and cancellation);
-
Invoice: view payment history and access the link to the respective invoice (tax receipt);
-
Reffers: check and track your participation in the referral program to receive discounts on your monthly fee;
-
Credits: check the history of credit usage on your account;
-
Security: configure login options for account users;
-
Audit: view the history of changes made to the Guru account registration.

Done! Depending on the desired action, click on one of the displayed tabs.
Manage account registration
In the manage account registration area, you can view and update the registration details of your Guru account, such as contact details and address, as well as access your API key.
See also:
Configure Time Zone
In this section, you can configure your account's time zone. This feature is useful if you want to view information accurately according to your local time.
Steps
1 - Access the guru admin with your username and password.
2 - In the upper right menu, click on My Account.
3- In My Account, click on Detail.
4 - In the Settings section, select the desired Time Zone .
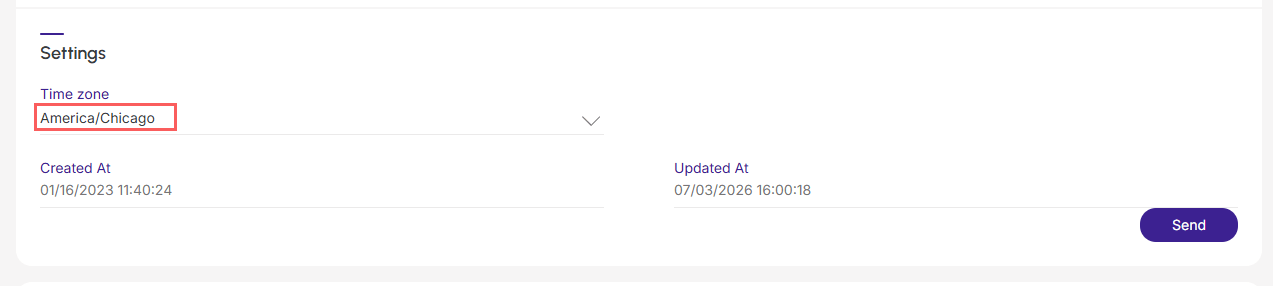
5 - Click on Send.
Get API Token
If you plan to use the generic integration or the Guru API, in this section you can obtain the integration token, a key generated exclusively for your account.
Steps
1 - Access the guru admin with your username and password.
2 - In the upper right menu, click on My Account.
3- In My Account, click on Detail.
4 - In the API section, click the button to copy the Api Token.

The API Token must be kept secret to ensure the security of your account. Share it only with trusted people who really need access to this key.
Generate new Token
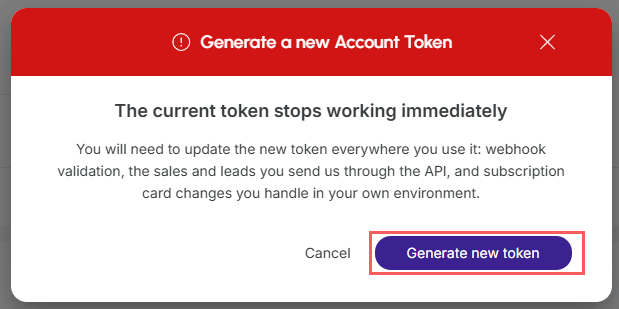
You can generate a new token if you wish. However, doing so will cause the current token to stop working immediately, and you will need to update it wherever it was used.
Steps:
1 - In the section, API, click the button Generate new Token.
2 - A box will be displayed with information about the token. To proceed, click on Generate new Token.
To confirm that the new token was generated, a message will be displayed for a few seconds at the top right of the page.
Manage your Guru plan
In this section, you can manage your plan, such as subscribing to a plan, updating a contracted plan, changing credit card details, changing plans, settling subscription payments, canceling subscription, and checking operational limits.
See also:
Check payment receipts (invoice)
In this section you can view invoice receipts and account payment history, as well as the link to download respective invoices (Portuguese tax invoice).
See also:
Check payment receipts (invoice)
Manage friend referrals
In the manage friend referrals section, you can get the referral link to share with friends, refer friends, check referrals made, and view discounts earned through referrals.
See also:
Check account credits
In this section, you can track credits used over the last 28 days and over recent months, along with usage statistics such as daily average, current balance, and estimated remaining days.
See also:
Configure authentication methods
In this section, you configure the methods that account users can use to authenticate.
See also:
Configure authentication methods
Audit
In this section you can check the history of changes to the account, such as registration details and plan changes.
Steps
1 - Access the guru admin with your username and password.
2 - In the upper right menu, click on My Account.
3 - In My Account, click on Audit.

4 - In the list you can check the changes made to your account.
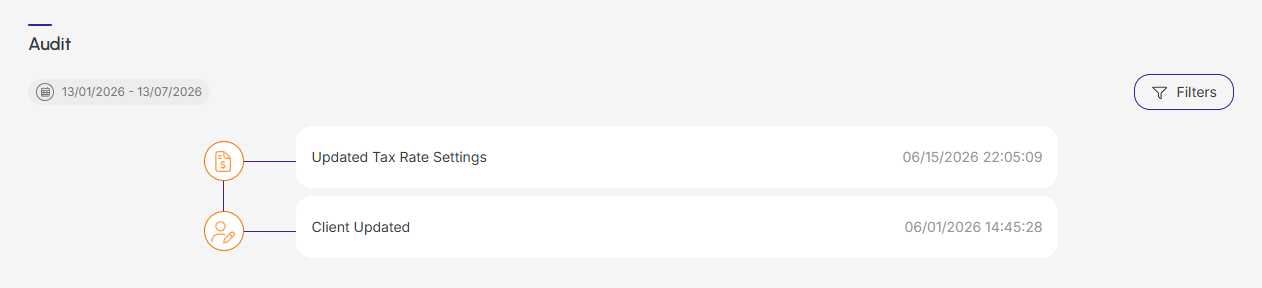
5 - If you wish, you can view the activity details by clicking on its title.
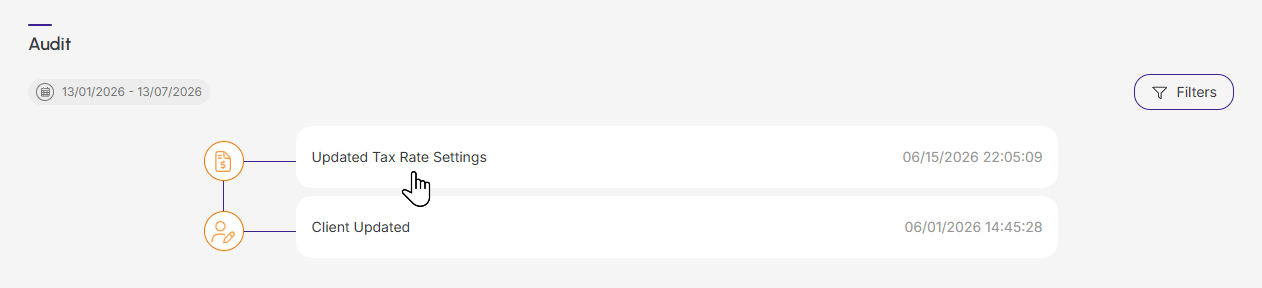
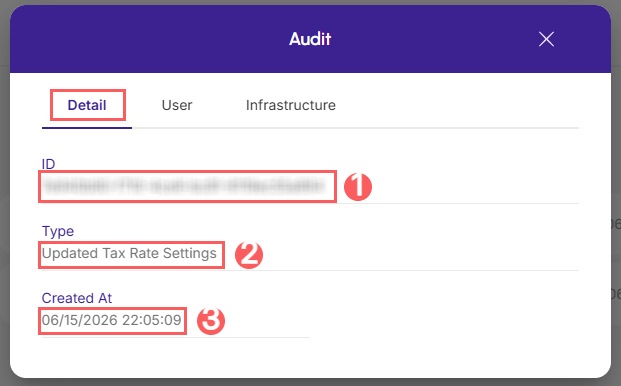
6 - Click on one of the available sections to view data:
Details
Displays detailed information about the activity in question.
-
ID: identification number (ID) of the update;
-
Type: type of change made;
-
Created at: date the activity was recorded.
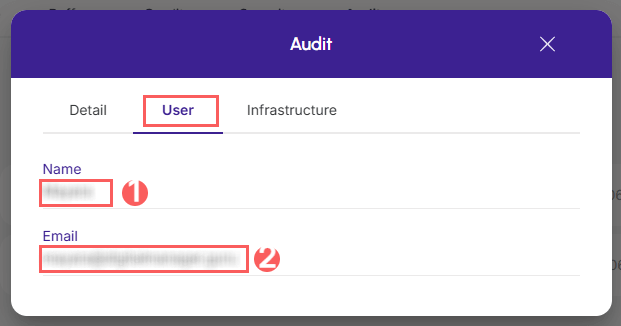
User
Displays information about the user who performed the action.
-
Name: name of the user who performed the operation;
-
Email: email of the user who performed the operation.
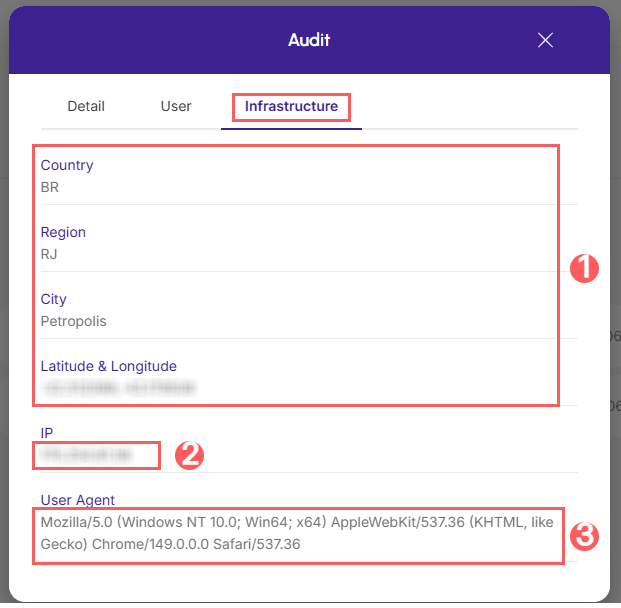
Infrastructure
Displays infrastructure information (country, IP, user agent…) for the related activity.
-
Country, Region, City, Latitude & Longitude: location of the device that performed the activity.
-
IP: ip address of the device.
-
User Agent: identification of the user agent that performed the operation.
Protect your data. Increase your business security.
Create and manage users by determining what each team member can see and do within the organization.