
Sales registered in Guru are automatically listed in the Sales section.
To find sales in a list with many records, you can search and filter the list.
By default, the sales list does not display abandoned sales. To list abandoned sales, apply the respective filter.
On this page:
-
Consult the sales list
-
View the data of a sale
-
How to filter the sales list
-
Manage sales filters
-
-
Update sales list
Before you start, you need to…
-
Be an administrator user or have permission to perform the following actions;
-
Have one or more sales registered in Guru.
Consult the sales list
By default, the sales list is organized by creation date (newest to oldest), according to the Created on. Column. For faster page loading, only the first 30 records are displayed. If you want to view the other items in the list, you can scroll to the bottom of the page and click on View more in the bottom center of the screen.
The list displays the following information:
-
Status: displays the current state of the sale - one of the possible sale statuses will be displayed;
-
Code: sale identification number - hover over the code to consult the associated payment processor;
-
Contact: contact name (buyer);
-
Product: name of the product linked to the order (sale);
-
Ordered At: date of sale;
-
Value: sale value charged to the buyer;
-
Tracking Origin: when the locator icon is displayed, it indicates that the sale is associated with a tracking created in Guru (P.P.C.T.) - click on the sale to view tracking details;
-
Payment Method: icon indicating the payment method used by the buyer - hover over the icon to view the description.

View the data of a sale
You can view1 all sale information or modify1 some sale data.
(1) permission is required to perform these actions.
Steps:
1 - Access the sales list - if desired, you can apply a filter.
2 - Locate the desired sale in the list.
3 - Click on the desired sale.
4 - Consult the sale information.

How to filter the sales list
You can use filters to view a smaller subset of existing sales. This feature is useful for finding specific sales you want to view.
By default, only records from the last 28 days will be shown, but the period can be changed in the filters, in the Period field.
Steps:
1 - In the side menu, access Sales. After the page loads, a list with all sales will be displayed.
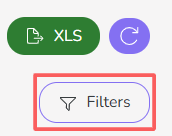
2 - In Sales, click on Filters.
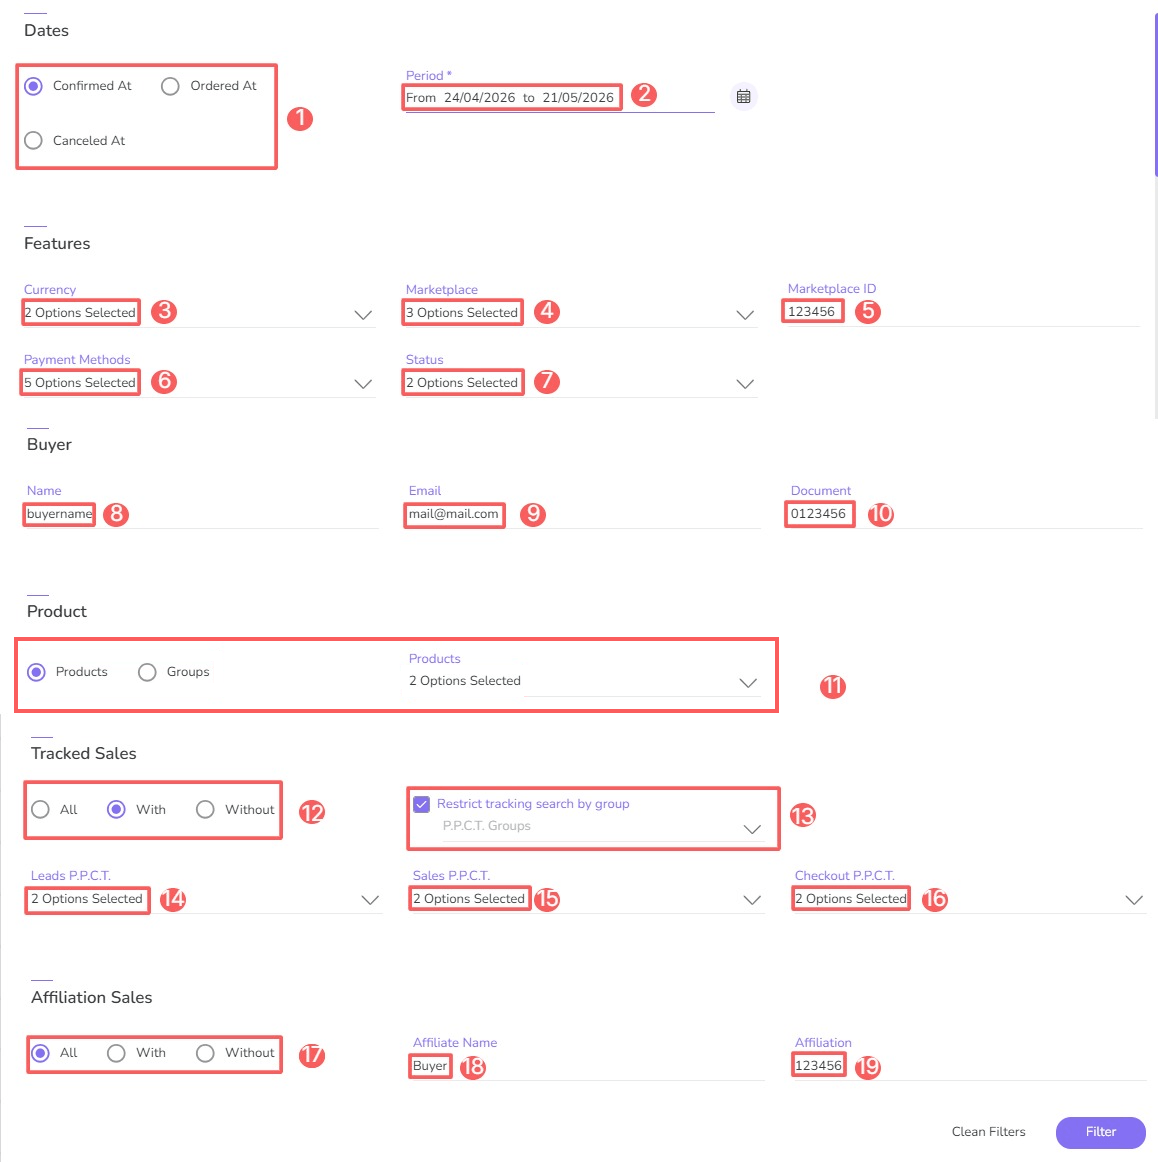
3 - Fill in one or more filter options:
-
Filter by Date1: determines which type of sale date will be used in the search: Approved on; Created on or Canceled on;
-
Period1: searches for sales made in the selected period - you can use the predefined time interval buttons or select the date you want to view;
-
Currency: searches for sales made in the selected currency(ies);
-
Marketplace²: searches for sales linked to the selected payment processor(s) - only marketplaces with at least one registered sale will be displayed;
-
Marketplace ID: identification number of the recipient's registration in the payment processor;
-
Payment Methods: searches for sales with the selected payment method(s);
-
Status: displays the current state of the sale - one of the possible sale statuses will be displayed;
-
Name: contact name (buyer);
-
Email: contact email (buyer);
-
Document: identification document number (buyer);
-
Products: searches for sales linked to the selected product(s) - products with at least one registered sale will be displayed, and it is also possible to filter by Product Groups;
-
Tracked sales: determines whether to search for sales associated (or not) with tracking;
-
Restrict tracking search by group: when checked, displays by tracking groups - when restricting the search by group, you will need to select at least one P.P.C.T. from one of the Leads, Sales, or Checkout lists;
-
Lead P.P.C.T.: searches for sales linked to the selected lead tracking(s);
-
Sales P.P.C.T.: searches for sales linked to the selected sales tracking(s);
-
Checkout P.P.C.T.: searches for sales linked to the selected checkout tracking(s);
-
Sales with Affiliation: determines whether to search for sales associated (or not) with an affiliate;
-
Affiliate Name: searches for sales that match the informed affiliate name;
-
Affiliation: searches for sales that match the informed affiliation code.
(1) To filter sales by a specific period, you must fill in the fields Filter by date (approved on, created on, and canceled on) or the period with predefined intervals.
(2) When filtering by marketplace, the sales filters will list only marketplaces that had sales, instead of displaying all marketplaces.
If you add more than one filter, only sales that meet all informed conditions will be displayed.
4 - Click on Filter.
To remove the applied filters, just click on Clean Filters.
Manage sales filters
You can check the number of applied filters when using filters to view desired information. This feature is useful if you want to check how many filters have been applied.
In addition, it is possible to clear the filters without accessing the Filters icon again, facilitating the removal of applied filters.
Consult applied filters
You can consult the number of applied filters.
Steps:
1 - In the side menu, access Sales. After the page loads, a list with all sales will be displayed.
2 - In Sales, click on Filters.
3 - Fill in one or more filter options - apply the filters you want to consult.
4 – Then, the number of applied filters will appear on the screen.

If you want to apply other filters, click How to filter the sales list.
Clear applied filters
You can remove the applied filters without needing to click on the filters icon.
Steps:
1 - In the side menu, access Sales. After the page loads, a list with all sales will be displayed.
2 - In Sales, click on Filters.
3 - Fill in one or more filter options - apply the filters you want to consult.
4 – Then, click on Clean Filters.

If you want to apply other filters, click How to filter the sales list.
Update the sales list
You can update the list of registered sales.
Steps:
1 - In the side menu, access Sales. After the page loads, a list with all sales will be displayed.
2 - In Sales, click on Refresh.
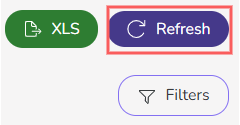
After clicking update, the page will load, and then it will appear updated.
More Resources