
At Guru, you will find the available resources to modify a contact group, allowing you to keep your information updated and ensuring more efficient database management.
It is possible to edit group information, access enrollment links associated with the contact, and track records of changes made through auditing.
On this page:
-
Edit Contact Group
-
Enrollment Links
-
Audit
-
How to filter the Audit list
-
Before you start, you need to…
-
Be an administrator user or have permission to perform the following actions;
Edit Contact Group
When a contact group is created, you can view the group's name and rename it.
Steps:
1 - In the side menu, go to Settings and then to Contact Groups.
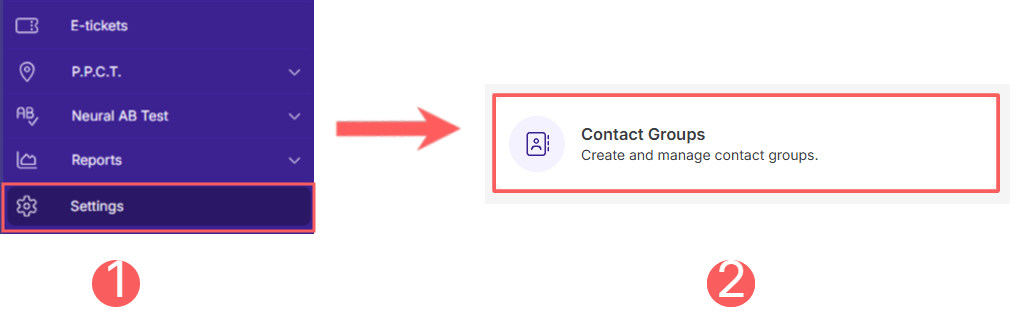
2 - In the Contact Groups, list, select the created group.

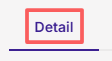
3 - Go to the Detail tab.
4 - You can view the name of the created group.
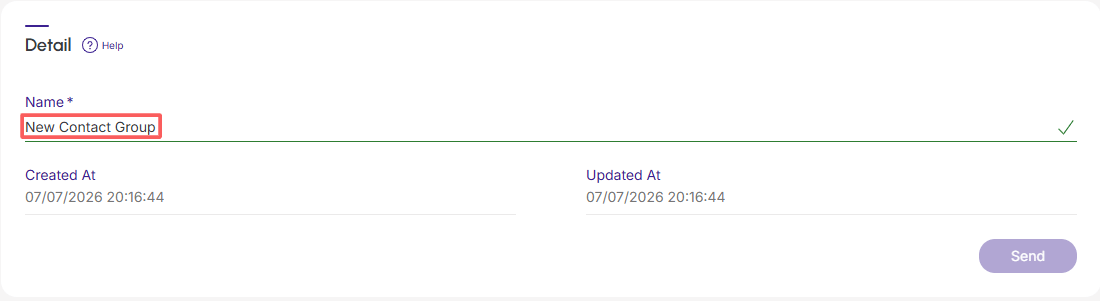
5 - If you need to change the group name, you can edit the name and then click Send.
Enrollment Links
You can view all enrollment links associated with the contact within the contact group.
Steps:
1 - Select the desired contact group - a screen with the data will be displayed.
2 - Go to the Enrollment Links tab.
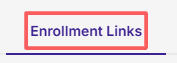
3 - The list displays the following information:
-
Marketplace: associated marketplace name;
-
Name: recruitment form name;
-
Friendly URL: form link URL;
-
Valid until: link expiration date, when applicable;
-
Recruitment link: form recruitment link - if desired, copy the link to share.

Audit
As a security measure, Guru stores a history of all operations performed in the offer registration, identifying the user, date/time of the operation, and other details.
Steps:
1 - Select the desired contact group - a screen with the data will be displayed.
2 - Click on the Audit tab.
3 - Activities are displayed in a timeline (from most recent to oldest).

4 - If desired, you can view the activity detail by clicking on its title.

5 - Click on one of the available sections to view the data:
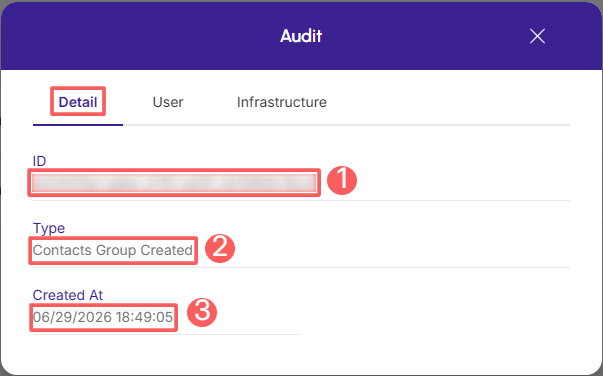
Detail
Displays detailed information about the activity in question.
-
ID: identification number (ID) of the update;
-
Type of change made;
-
Created on: date of activity registration.
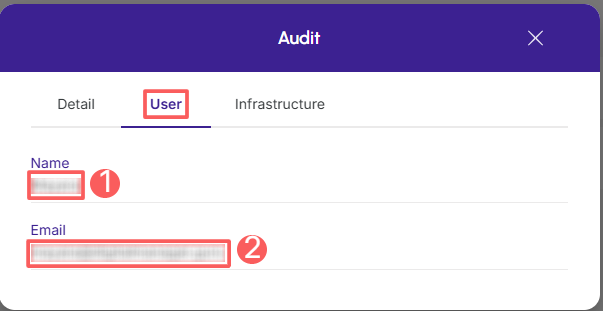
User
Displays information about the user who performed the action.
-
Name: name of the user who performed the operation;
-
Email: email of the user who performed the operation.
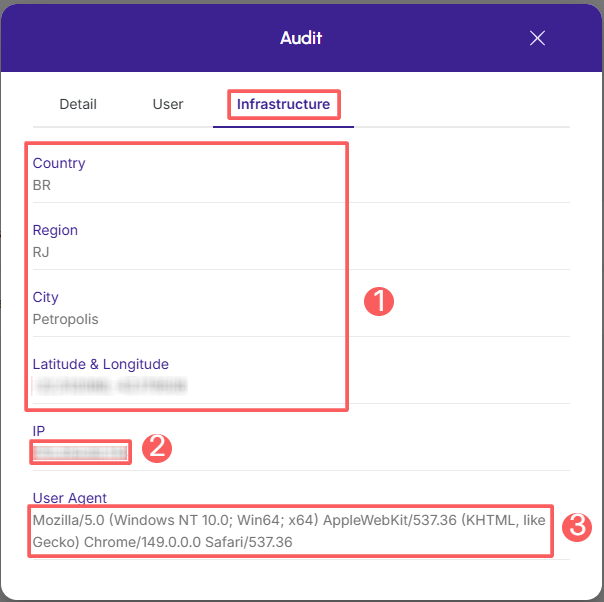
Infrastructure
Displays infrastructure information (country, IP, user agent…) related to the activity.
-
Country, Region, City, Latitude & Longitude: location of the device that performed the activity.
-
IP: device IP address.
-
User Agent: identification of the user agent that performed the operation.
How to filter the Audit list
You can use the filters to view a smaller subset of existing audits. This feature is useful for finding specific audits you want to view.
By default, only records from the last 28 days will be shown, but the period can be changed in the filters, in the Period.field.
Steps:
1 - Select the desired contact group - a screen with the data will be displayed.
2 - Click on the Audit tab.
3 - In Audit, click on Filters.
4 - Fill in one or more filter options:
-
Period: searches for audits registered in the selected period - you can use the predefined time range buttons or select the date you want to view.
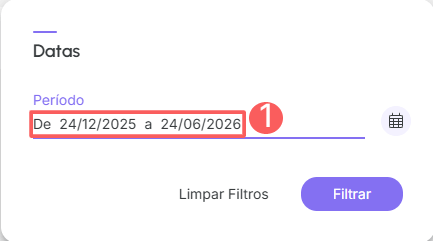
5 - Click on Filter.
You can view the number of applied filters, and by using them, you can clear them without accessing the Filters icon again, making it easier to remove the selection.
Protect your data. Increase your business security.
Create and manage users by determining what each employee can see and do within the organization.
More Resources