
In Guru, a contact is automatically added and updated when a sale¹ is created.
Once created, you can update the contact's information such as identification data, address, among others. It is also possible to anonymize the contact to meet the requirements of applicable local data privacy regulations, ensuring the security and privacy of the person in question.
¹ A sale is created when the customer fills in their name and email in the Guru Checkout or when a sale is received from an external checkout.
On this page:
-
Add contact
-
Update contact
-
Remove contact
-
Anonymize contact
-
Generate Tickets for a contact
-
Check if the contact is on the blocklist
Before you start, you need…
-
Be an administrator or have permission to perform the following actions.
Add contact
Although Guru adds or updates the contact every time a sale is registered, you can manually add a contact.
Contact identification is done by combining the fields email + document. It is not possible to add a contact with the same combination of values for these fields. To avoid accidental duplication, we recommend searching separately by email and document before adding a new contact.
Steps
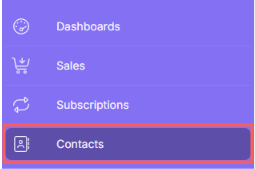
1 - In the side menu, go to Contacts.
2 - In Contacts, click on Add Contact.
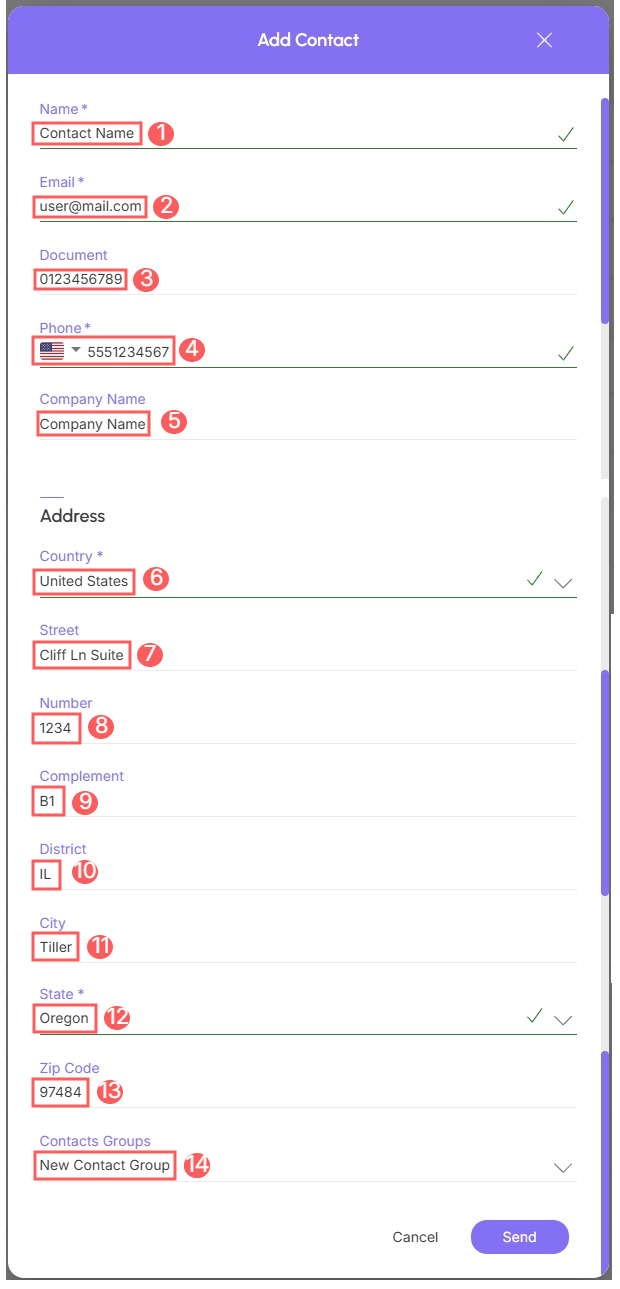
3 - In the displayed window, enter the following data:
-
Name: full name of the person or company;
-
Email1: contact's email;
-
Document1: identification document number;
-
Phone: city code (if any) and mobile number for contact;
-
Company Name: name of the company;
-
Country: contact's country of residence;
-
Street: enter the name of the street, avenue, road, etc.;
-
Number: door or entrance number;
-
Complement: address complement;
-
District: residential neighborhood;
-
City: city of residence;
-
State: state of residence;
-
ZIP Code: contact’s Postal Code.
-
Contact Group: group to which the contact is linked.
4 - Click on Send.
Done! The contact is now registered in Guru. From this moment, you can add recipient data (affiliate), link producer data, or add comments to the contact.
Update contact
After creating contacts, you can edit them to change name, address, email, and other information.
Steps:
1 - In the side menu, go to Contacts.
2 - In your Contacts list, select the Contact you want to update.

3 - Then, fill in the Contact Information and save the changes.
Remove contact
It is possible to remove a contact as long as it does not have associated sales or affiliations. When a contact is removed, the record is permanently deleted and cannot be restored.
Steps:
1 - In the side menu, go to Contacts.
2 - Click on the Contact you want to remove.
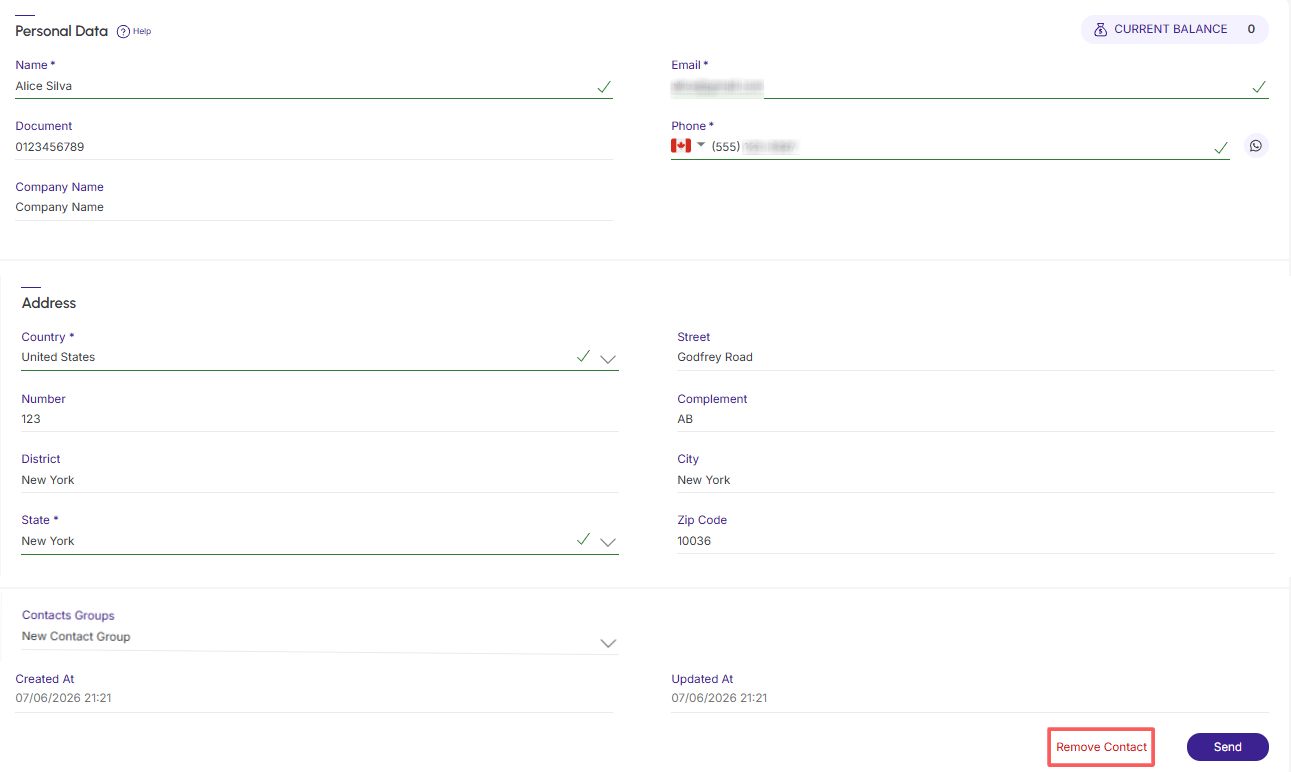
3 - In Detail, click on Remove Contact1.
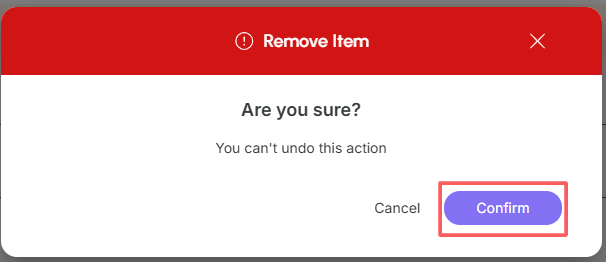
4 - A confirmation window is displayed. If you wish to proceed with the removal, click on Confirm.
1 The button is only visible if the contact can be removed (has no associated sales or affiliations).
Anonymize contact
Through the anonymize function¹, you can anonymize the contact's personal data so that they can no longer be identified within the system.
This feature is useful when you receive an anonymization request from the contact themselves, a right guaranteed by applicable local data privacy regulations.
1 Data processing technique capable of modifying or removing information that identifies an individual. Through this technique, the link between the registration and a specific person is completely lost.
After confirming anonymization, the action cannot be undone.
It is not allowed to anonymize a contact with an active subscription - you must cancel the subscription before performing this operation.
Steps:
1 - In the side menu, go to Contacts.
2 - In your Contacts list, select the Contact you want to update.
3 - In Detail, click on Anonymize.
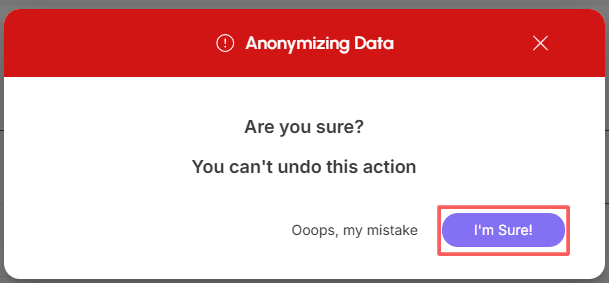
4 - A confirmation window is displayed. If you wish to proceed with anonymization, click on I'm Sure.
Done! The contact's personal data is immediately replaced by symbolic values with no associated original content - only the country and state of residence remain with their original values. Sales, subscriptions, and affiliations associated with the contact remain intact.
Generate Tickets for a contact
In the Contact's E-tickets section, you can generate tickets without having to charge anything to your partners, sponsors, or guests.
Before you start, you need…
-
Have one or more products of type E-ticket registered.
Steps:
1 - In the side menu, go to Contacts.
2 - In your Contacts list, select the Contact you want to offer tickets to.
3 - Click on the E-tickets. tab.
4 - In E-tickets, click on Generate E-tickets.
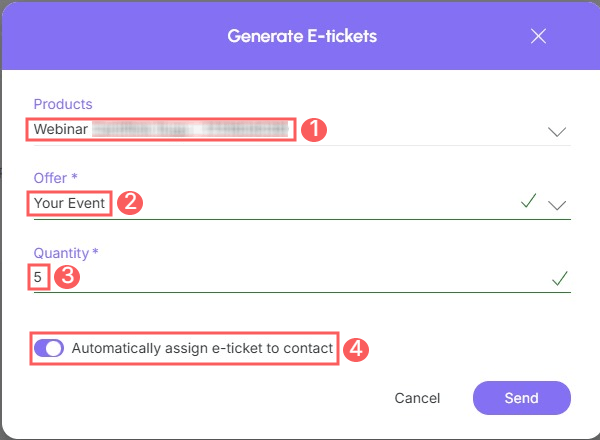
5 - Enter:
-
Products: the tickets you want to issue for the contact;
-
Offer: the product offer you want to provide to the contact;
-
Quantity: the number of tickets to be generated for the contact - maximum allowed number of tickets generated will be up to 50;
-
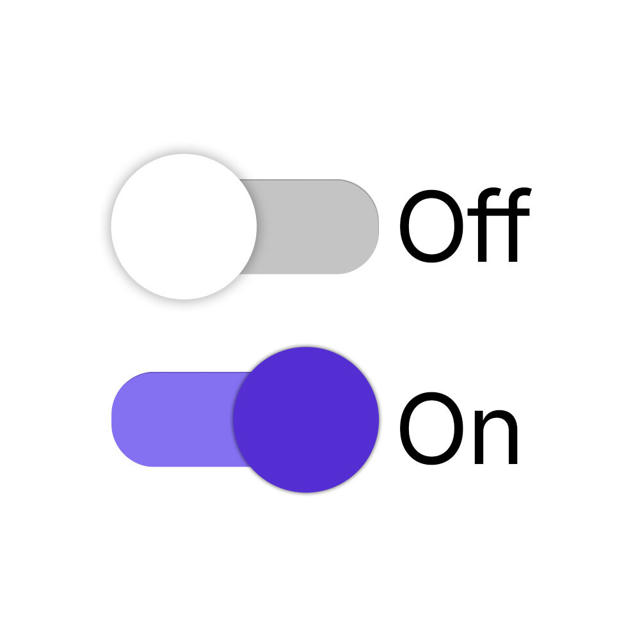
Automatically assign e-ticket to contact: when activated, allows tickets to be assigned to the contact automatically.
6 - Click on Send.
Done! The tickets have been issued for the selected contact. Guru will send an email to the contact, so they can send invitations to participants, through the My Orders. area.
Check if the contact is on the blocklist
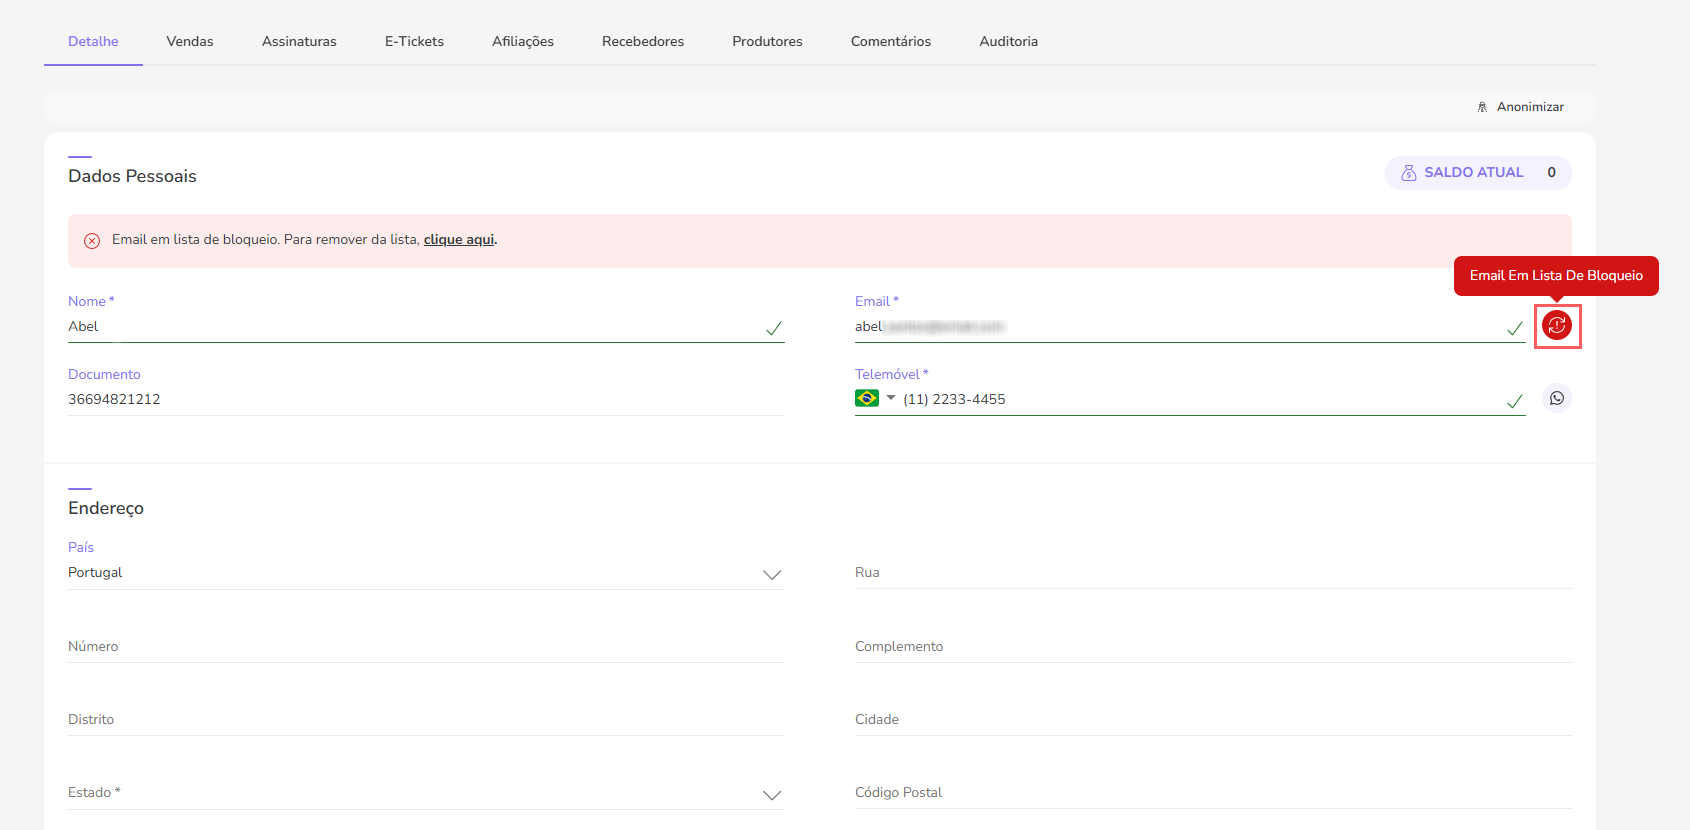
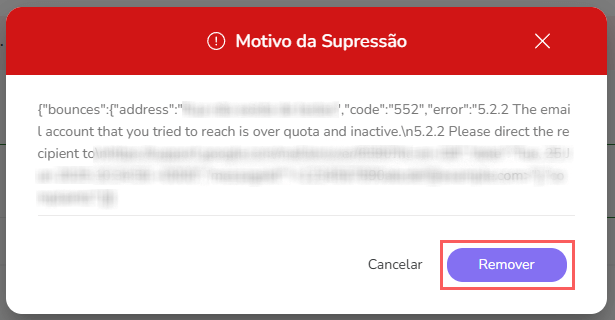
In the Contact Detail, it is possible to validate if the email is on the blocklist. If it is blocked, you can consult the reason for the block and also remove it from the list.
Steps:
1 - In the side menu, go to Contacts.
2 - In your Contacts list, select the Contact you want to update.
3 - In the contact detail, there will be a visual information indicating that the email is on a blocklist.
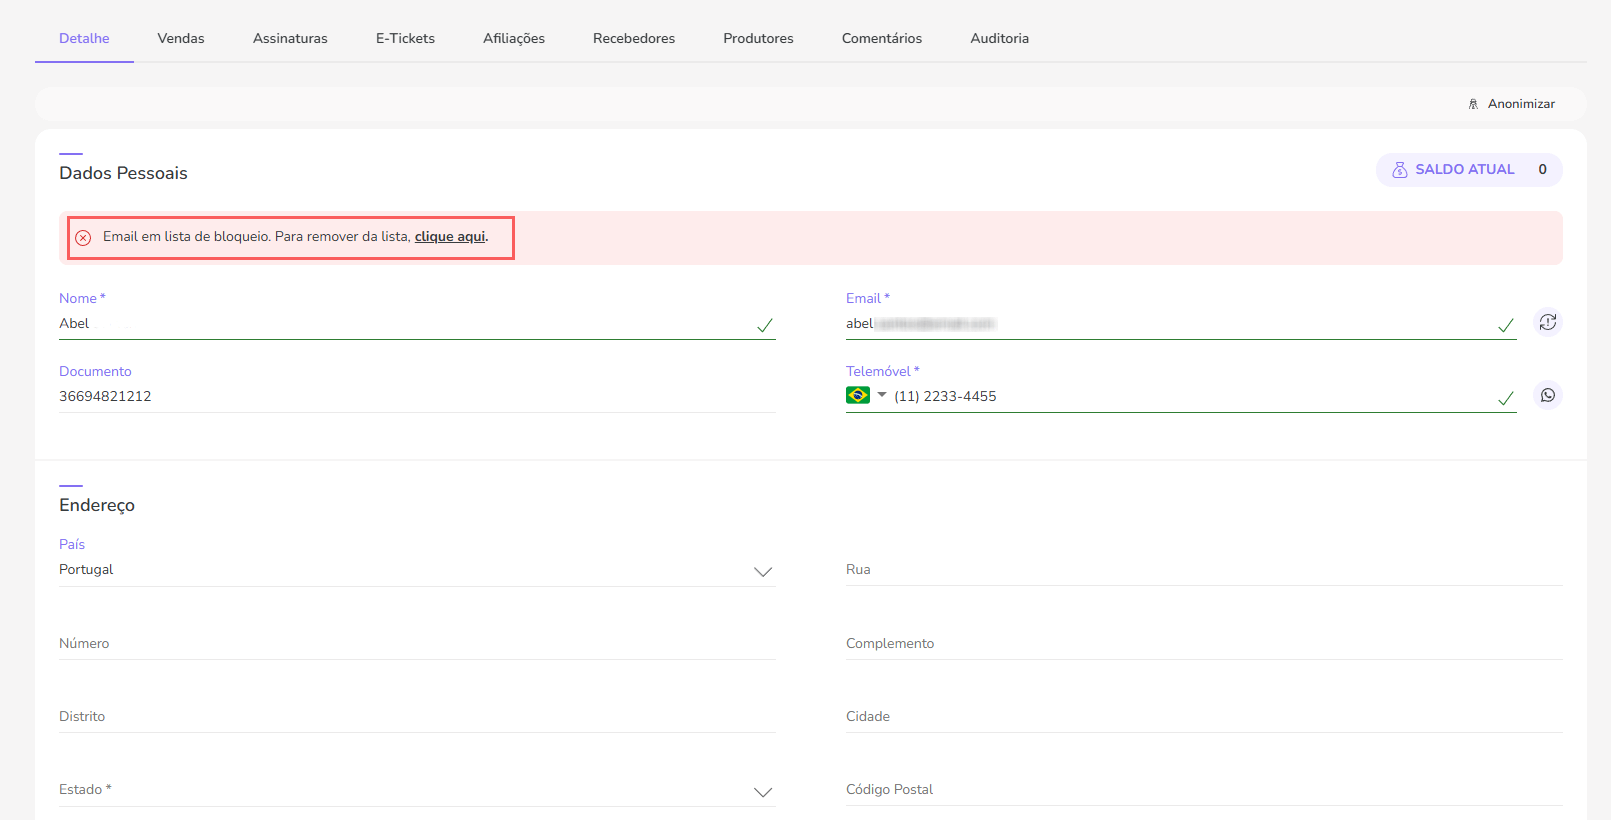
4 - Click on the Email On Blocklist icon to find out the reason for the block.
5 - In Suppression Reason, click on Remove to unblock the email.
More Resources