
You can deactivate, reactivate your Stripe integration and also consult the history of changes made (audit).
On this page:
-
Deactivate Stripe Integration
-
Consult Audit
-
Consult Audit filters
-
Before you start, you need…
-
To be an administrator user or have permission to perform the following actions.
-
To have active Stripe integration.
Deactivate Stripe Integration
You can deactivate the Stripe integration if you no longer intend to use this payment processor.
By deactivating this integration, all Checkout Guru links with Stripe will stop working immediately.
Steps:
1 - In the side menu, access Settings > Integrations > Guru’s Checkout > Stripe.

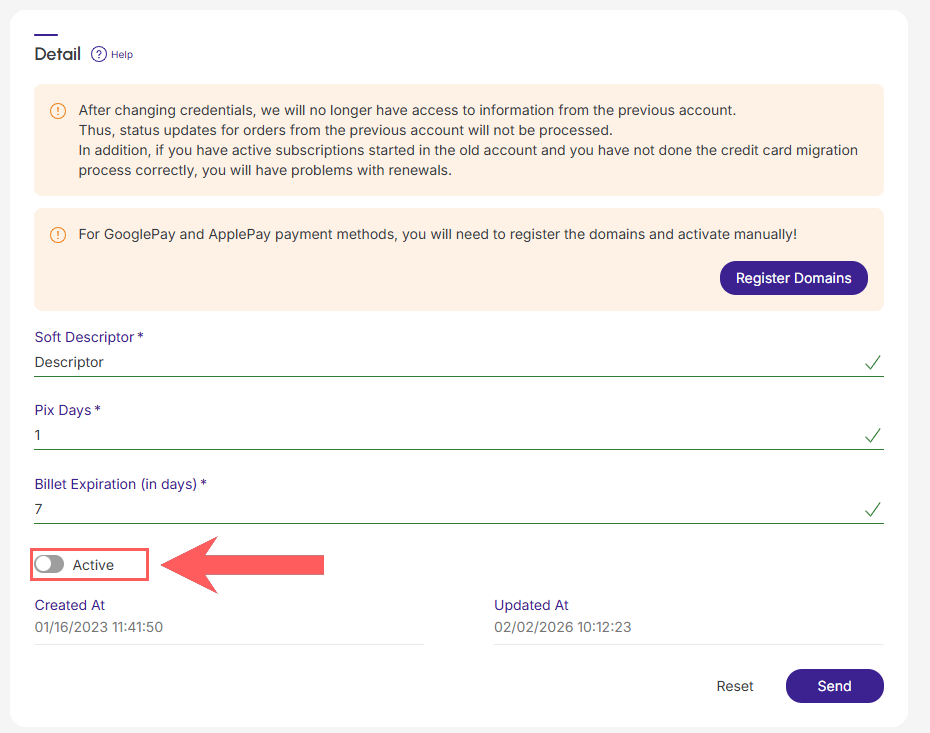
2 - Switch the Active button to the off position.
.jpg?cb=8837a4ea6a4e7db37d2e094edac9e7bf)
3 - Click Send.
Consult Audit
As a security measure, Guru stores a history of all operations performed in the integration, identifying the user, date/time of the operation, and other details.
Steps:
1 - In the side menu, access Settings > Integrations > Guru’s Checkout > Stripe.
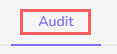
2 - Click on the Audit tab.
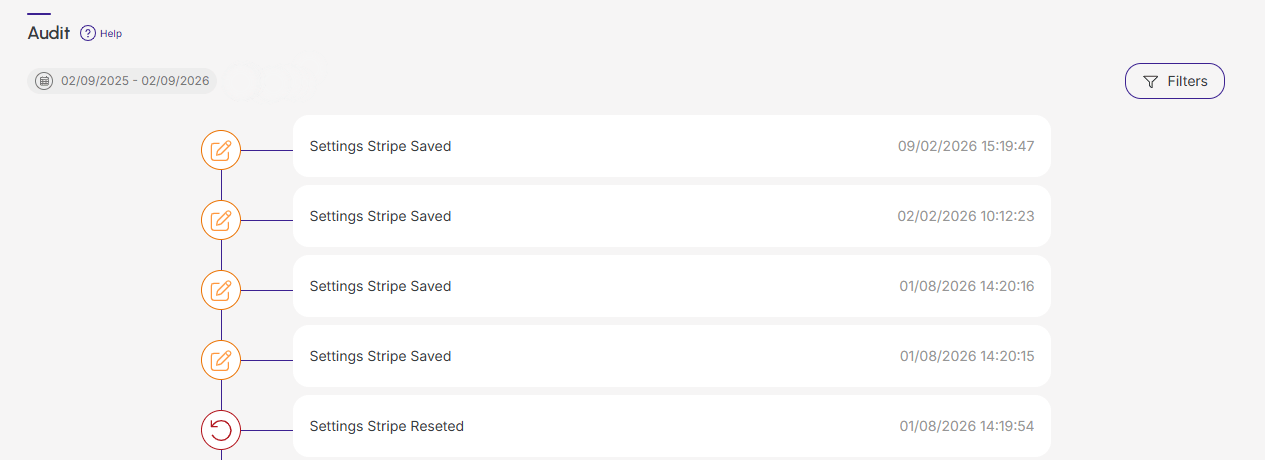
3 - Activities are displayed in a timeline (from most recent to oldest).
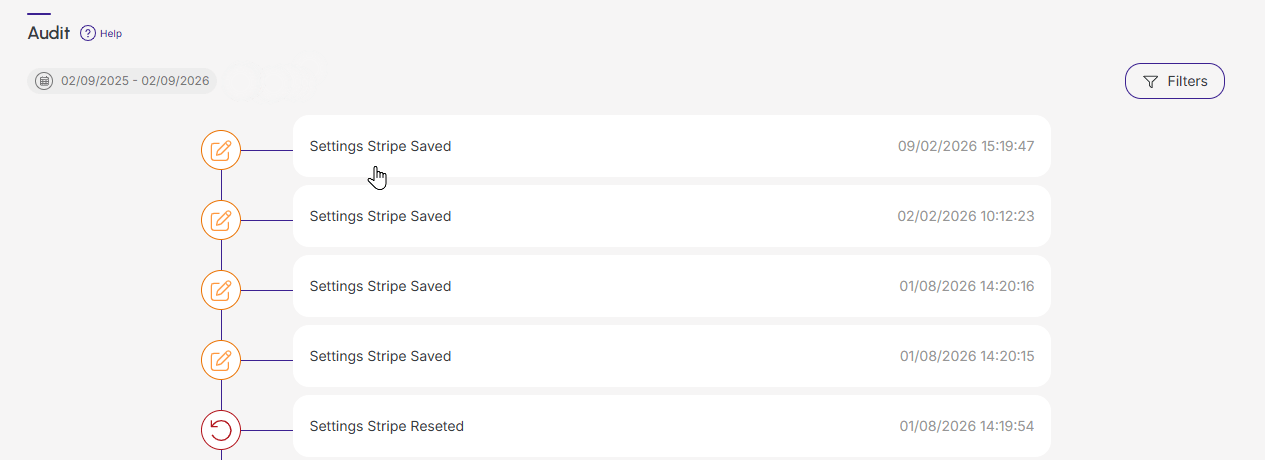
4 - If desired, you can view the activity detail by clicking on its title.
5 - Click on one of the available sections to view the data:
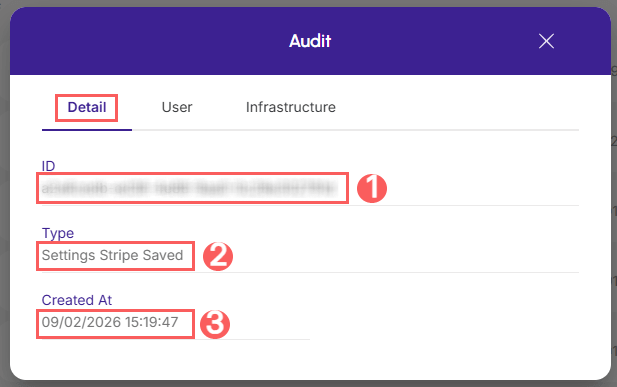
Detail
Displays detailed information about the activity in question.
-
Type of change made;
-
ID: identification number (ID) of the update;
-
Created at: date of activity registration.
User
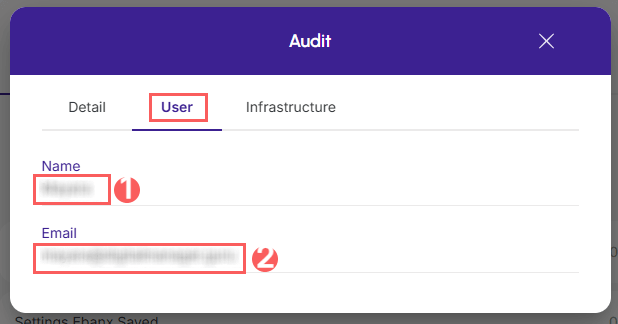
Displays information about the user who performed the action.
-
Name: name of the user who performed the operation;
-
Email: email of the user who performed the operation.
Infrastructure
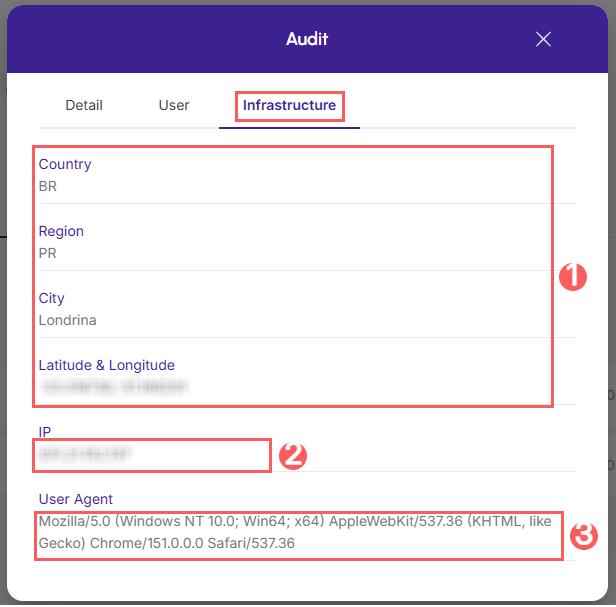
Displays infrastructure information (country, IP, user agent…) related to the activity.
-
Country, Region, City, Latitude & Longitude: location of the device that performed the activity.
-
IP: device IP address.
-
User Agent: identification of the user agent that performed the operation.
Consult Audit filters
You can use the filters to view a smaller subset of existing audits. This feature is useful for finding specific audits you want to view.
By default, only records from the last 28 days will be shown, but the period can be changed in the filters, in the Period field.
Steps:
1 - In the side menu, access Settings > Integrations > Guru’s Checkout > Stripe.
2 - Click on the Audit tab.
3 - In Audit, click on Filters.
4 - Fill in one or more filter options:
-
Period: searches for audits registered in the selected period - you can use the predefined time range buttons or select the date you want to view.
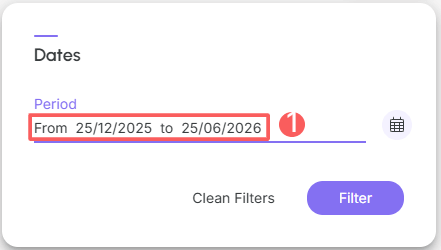
5 - Click on Filter.
You can view the number of applied filters, and by using them, you will be able to clear them without accessing the Filters icon again, facilitating the removal of the selection.
Protect your data. Increase your business security.
Create and manage users by determining what each collaborator can see and do within the organization.