
You can choose the discount application rules, consult the sales associated with the coupon, as well as manage all changes made and related data, such as date, time, and user.
On this page:
-
Detail
-
Remove Coupon
-
-
Sales
-
Audit
-
How to filter the Audit list
-
Before you start, you need…
-
Be an administrator user or have permission to perform the following actions.
-
Have one or more coupons registered with Guru.
Detail
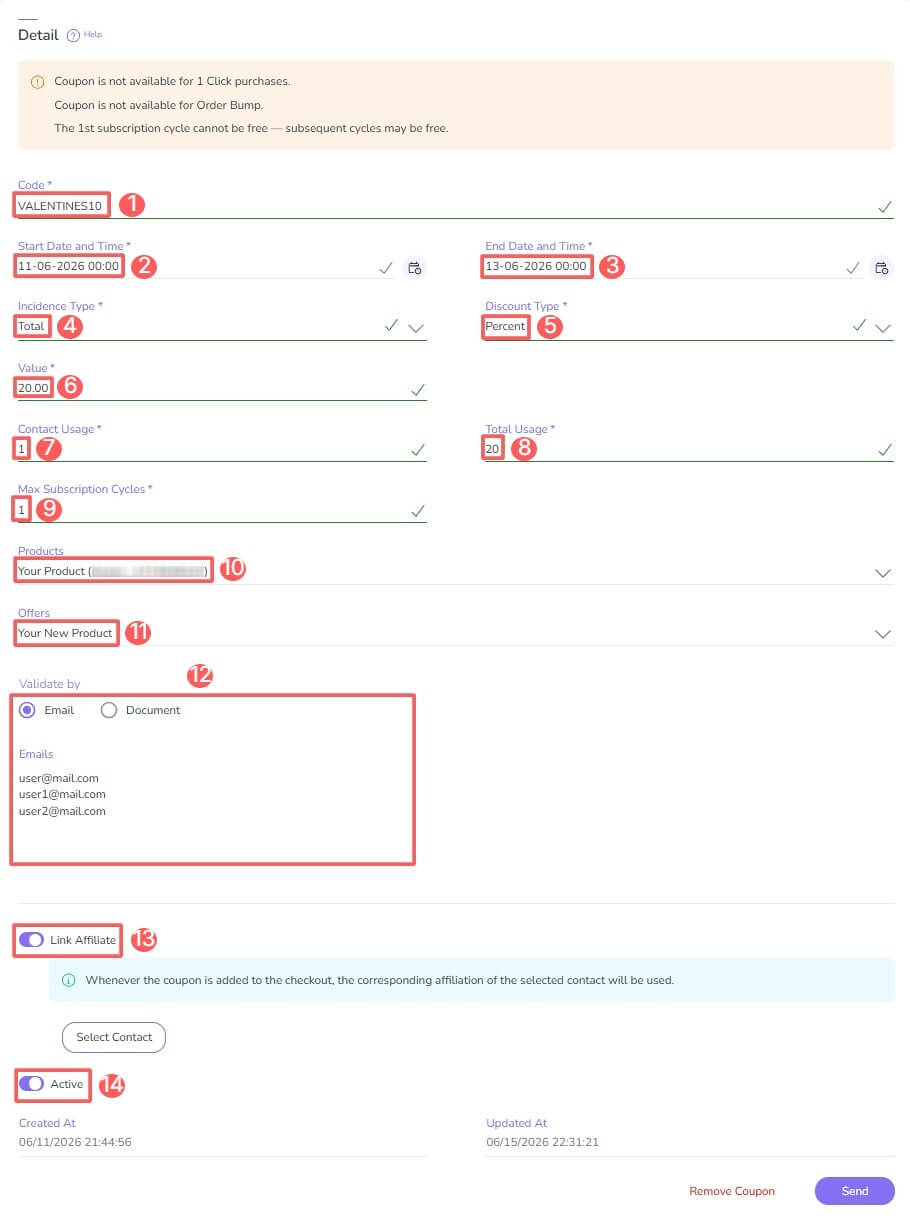
In the Detail section, you can consult basic information such as the coupon code; start date, start time, end date, and end time of the coupon's validity; incidence type; discount type; discount value; number of times the coupon can be used; subscription cycles, eligible products and offers for using the discount coupon, and the validity of the discount coupon's use.
Steps:
1 - Access the coupon detail - the coupon registration will be displayed.
2 - On the Detail tab, you can edit or view the following information:
-
Code: information that the customer will have to enter in the Discount coupon field at checkout;
-
Start Date and Time: coupon validity start date;
-
End Date and Time: coupon validity end date;
-
Incidence Type: the discount can apply to the value of the Product, Shipping, or Total purchase value;
-
Discount type: discount
percentualor invalue; -
Value: discount value - the informed value will be combined with the selected discount type;
-
Contact Usage: number of times each contact can make a purchase with this coupon - example: contact usage = 2, means that each customer can make 2 purchases with the coupon (same email);
-
Total Usage: total number of times the coupon can be used - example: total usage = 500, means that the coupon is available for the first 500 customers who apply the coupon to their purchase;
-
Max Subscription Cycles1: number of subscription cycles for which the coupon can be used when applied - example: max subscription cycle = 2; means that the coupon will be applied for the next 2 subscription cycles;
-
Products: select the eligible products for using the discount coupon;
-
Offers: select the eligible offers for using the discount coupon;
-
Validate by: enter the eligible emails or documents (one per line) for using the discount coupon;
-
Link Affiliate: select a contact to link an affiliate to a sale via coupon - only contacts with active affiliation for the selected product can be selected (available only for customers in Brazil);
-
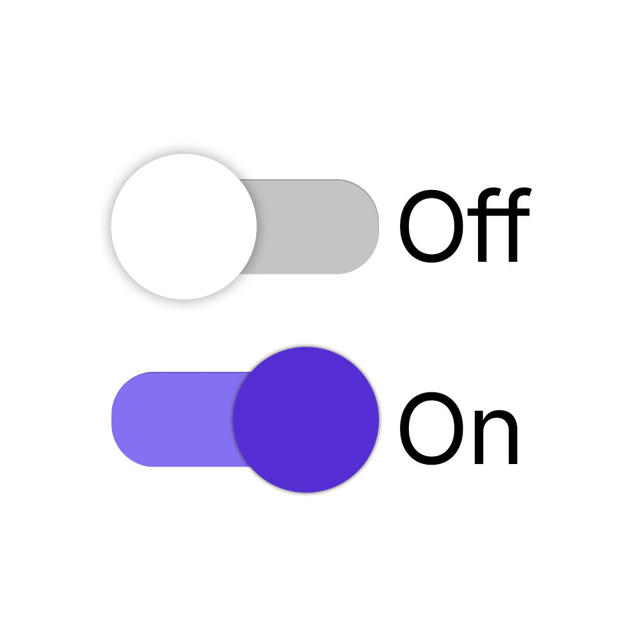
Active: which can be in the on or off position - when off, the coupon will not be accepted at checkout even if the usage limit has not been exhausted.
(1) The value zero is infinite, meaning the coupon will be applied to all subscription cycles.
Remove Coupon
it is possible to remove a discount coupon. When a coupon is removed, the record is permanently deleted and cannot be restored.
Coupons with associated sales cannot be removed. Alternatively, you can deactivate the coupon.
Steps:
1 - Access the coupon detail - the coupon registration will be displayed - if desired, you can apply a filter.
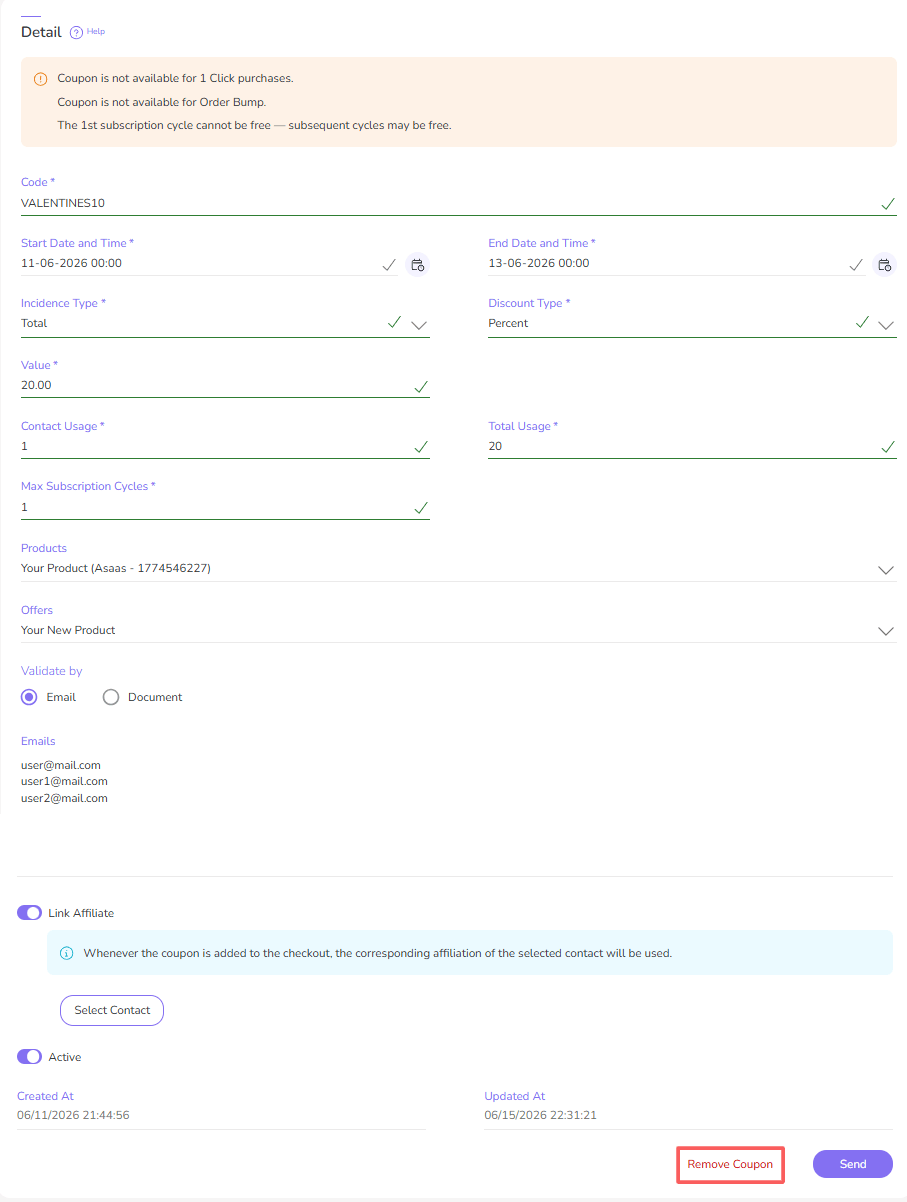
2 - In the Detail of the desired coupon, click on Remove Coupon.
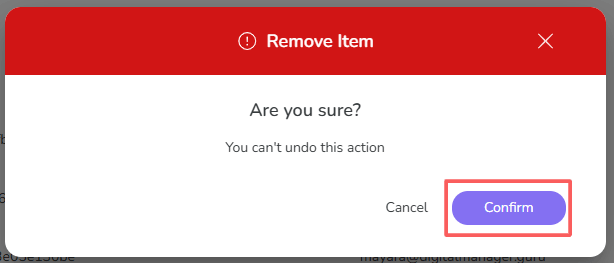
3 - A confirmation window is displayed. If you wish to proceed with the removal, click Confirm.
Sales
The Sales section displays the list of sales associated with the coupon in question. This option is useful for easily viewing the most recent coupon sales.
It is not possible to filter the list displayed in this section. If you wish to apply filters, access the Sales menu in the Guru admin.
The Sales section only appears visible when there is at least one sale associated with the coupon in question.
Steps:
1 - Access the coupon detail - a screen with the data will be displayed.
2 - Click on Sales.
3 - The list displays the following information:
-
Status: sale status;
-
Code: sale identification number;
-
Contact: buyer contact;
-
Product: product associated with the sale;
-
Created on: sale date;
-
Value: value of the sale;
-
Payment Method: payment method used.

You can access the sale detail by clicking on the desired item.
Export sales
Exporting sales to a spreadsheet is available in Settings > Coupons on the Sales tab in the Guru admin.
Steps:
1 - Access the coupon detail - a screen with the data will be displayed.
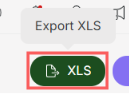
2 - In Sales, click on XLS.
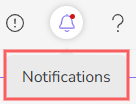
3 - After a few minutes, you will receive a notification in the Guru admin with the Download link. Click on the notification icon1 to view the list of notifications.
1 It may be necessary to reload the page in your browser (press CTRL+F5) for the notification icon to change color.
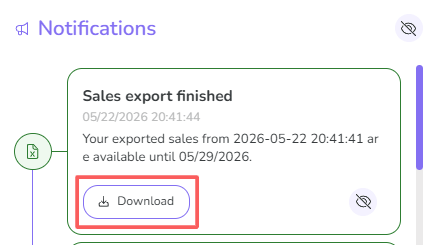
4 - Locate the corresponding notification and click Download.
The Download link will be sent by email.
Audit
As a security measure, Guru stores a history of all operations performed, identifying user, date/time of operation, and other details.
Steps:
1 - Select the desired coupon - a screen with the data will be displayed.
2 - Click on the Audit tab.
3 - Activities are displayed in a timeline (from most recent to oldest).

4 - If desired, you can view the activity detail by clicking on its title.

5 - Click on one of the available sections to view the data:
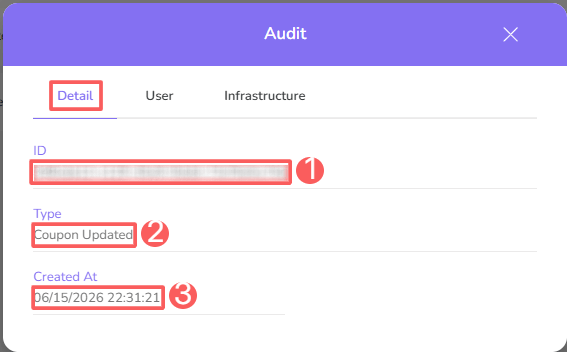
Detail
Displays detailed information about the activity in question.
-
ID: activity identification code;
-
Type: type of change made;
-
Created on: item creation date.
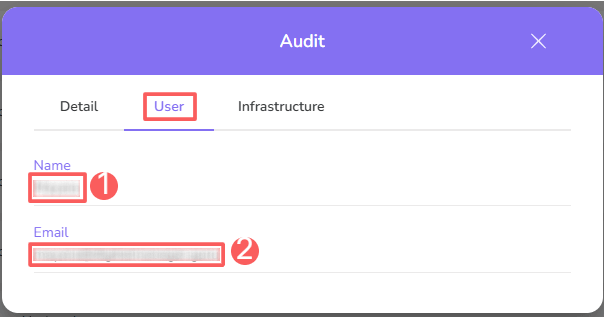
User
Displays information about the user who performed the action.
-
Name: related user's name;
-
Email: related user's email.
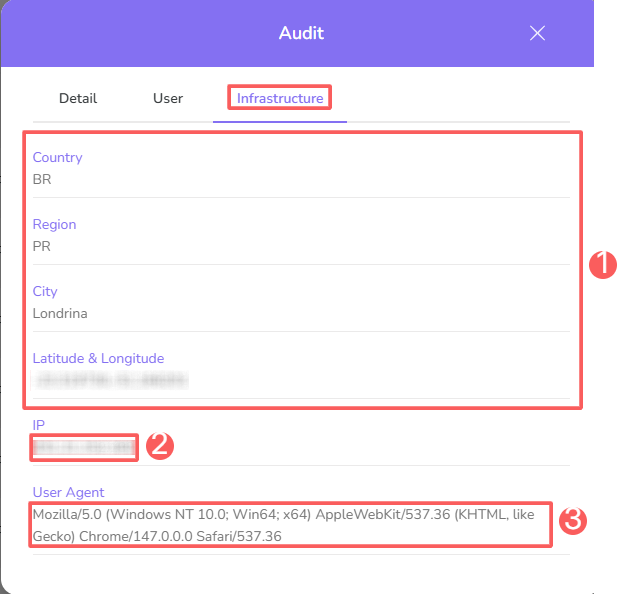
Infrastructure
Displays infrastructure information (country, IP, user agent…) of the related activity.
-
Country, Region, City, Latitude & Longitude: location of the device that performed the activity;
-
IP: device IP address;
-
User Agent: identification of the user agent that performed the operation.
How to filter the Audit list
You can use the filters to view a smaller subset of existing audits. This feature is useful for finding specific audits you want to view.
By default, only records from the last 28 days will be shown, but the period can be changed in the filters, in the Period.field.
Steps:
1 - Select the desired coupon - a screen with the data will be displayed.
2 - Click on the Audit tab.
3 - Under Audit, click on Filters.
4 - Fill in one or more filter options:
-
Period: searches for audits registered in the selected period - you can use the predefined time interval buttons or select the date you want to view;
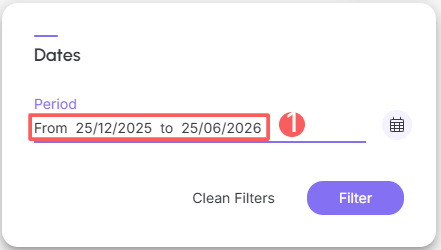
5 - Click on Filter.
You can view the number of applied filters, and when using them, you will be able to clear them without accessing the Filters icon again, making it easier to remove the selection.
Protect your data. Increase your business security.
Create and manage users determining what each collaborator can see and do within the organization.