
At Guru, you can change the data of an existing e-ticket webhook or remove it, by updating, deactivating or removing a webhook.
On this page:
-
Update an e-ticket webhook
-
Deactivate an e-ticket webhook
-
Remove an e-ticket webhook
Before you start, you need to…
-
Be an administrator user or have permission to perform the following actions.
-
Have one or more e-ticket webhooks registered in Guru.
Update an e-ticket webhook
You can update a webhook by editing information such as basic data, sending rules, and filtering records. This feature is useful when you want to change the data of a webhook already registered in Guru and do not want to create a new one.
Steps:
1 - Access the Guru admin with your username and password.
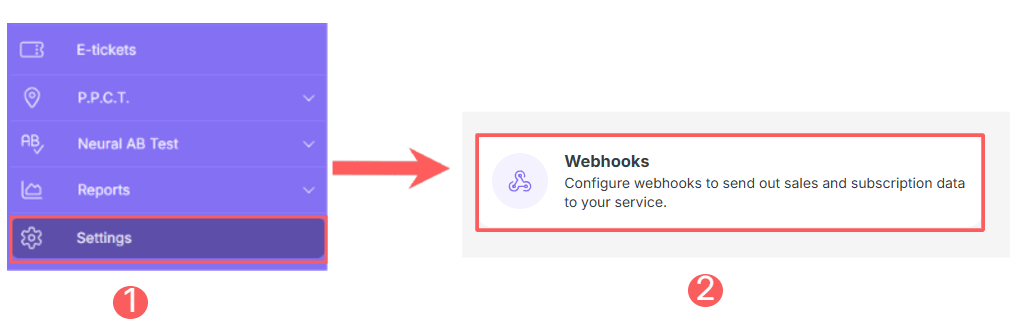
2 - In the side menu, click on Settings and then Webhooks.
3 - Click on E-tickets.
4 - Select the webhook you want to change.

5 - Then, change the desired fields:
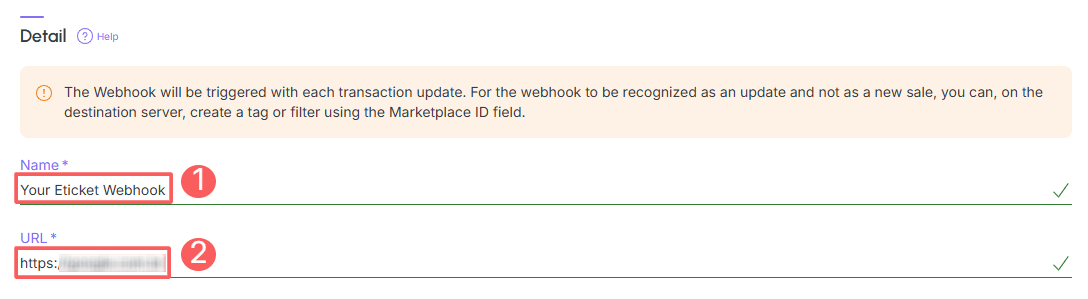
Basic Data
-
Name: name of your webhook;
-
URL: destination URL obtained from the system in question (or from the responsible developer).
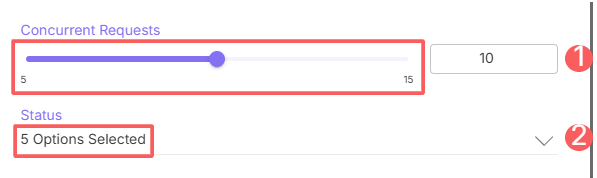
Sending Rules:
-
Concurrent Requests: maximum number of simultaneous sends that Guru should perform - indicate an appropriate value to avoid overloading the destination server;
-
Status: for which e-ticket statuses the webhook should be sent - you can select more than one.
Record Filtering
-
Filter by: check filter by
all,MarketplacesorProducts(1); -
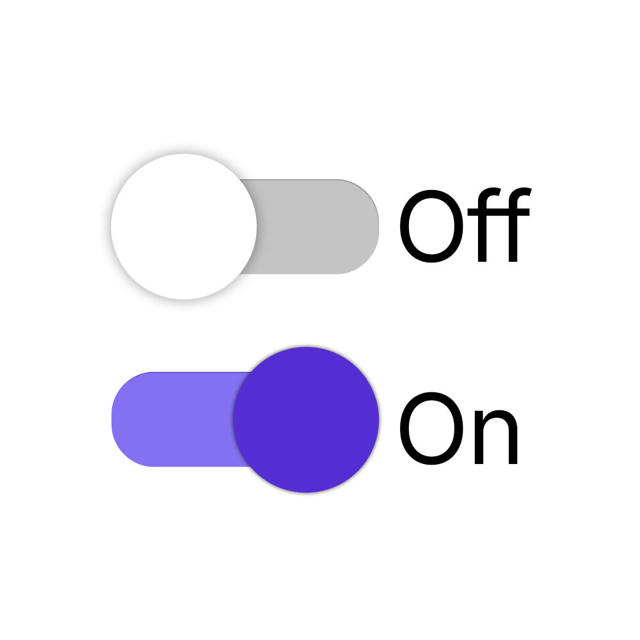
Active: change the button to the on position.
(1) When choosing to filter by “all” or “marketplaces”, any new product created will be automatically associated with the webhook.
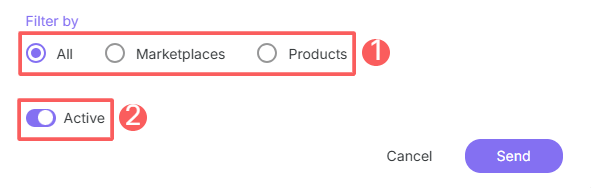
Only e-tickets that meet the indicated filtering criteria will be sent by the webhook.
6 - Click on Send.
Deactivate an e-ticket webhook
You can deactivate a webhook at any time. This feature is useful when you want to deactivate a registered webhook if you no longer wish to use it.
Steps:
1 - Access the Guru admin with your username and password.
2 - In the side menu, click on Settings and then, Webhooks.
3 - Click on E-tickets.
4 - Locate the desired webhook and change the selector to the desired position (activated or deactivated):

When deactivating a webhook, it stops being sent even if the subscription in question meets the configured criteria.
Remove an e-ticket webhook
it is possible to remove a webhook. When you remove a webhook, the record is permanently removed and cannot be restored.
Webhooks that have associated sales cannot be removed. Alternatively, you can deactivate the webhook.
Steps:
1 - Access the Guru admin with your username and password.
2 - In the side menu, click on Settings and then, Webhooks.
3 - Click on E-tickets.
4 - In the Detail of the desired webhook, click on Remove Webhook.
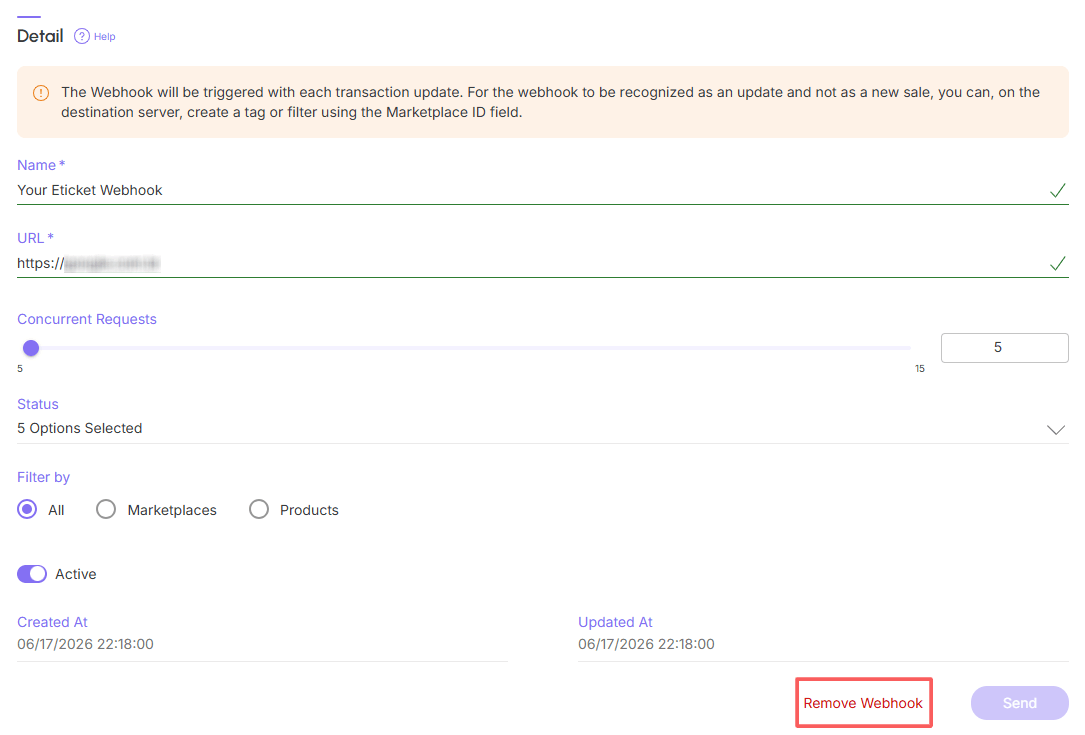
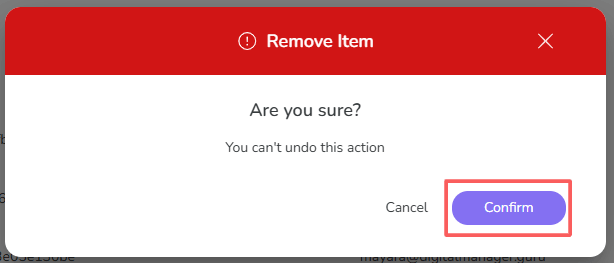
5 - A confirmation window is displayed. If you wish to proceed with the removal, click on Confirm.
More Resources