
Custom domain configuration is optional, but we recommend using this feature to convey more brand recognition and security to your customers. By using your own domain, the links generated by Guru will start with the configured domain – instead of starting with https://clkdmg.site(1).
By default, all links generated by Guru start with https://clkdmg.site, without prejudice to the features used on the platform.
In some plans, only 1 custom domain can be configured. You can increase this limit by subscribing to a higher plan or changing your plan to the Plus II or Plus III category. Compare plans and operational limits at this link.
How it works in practice
Let's say your website is www.sualoja.com and you decided to configure a domain called "go" to use for the links generated by Guru.
After performing all the indicated configurations, the links generated by the platform will start with https://go.sualoja.com, as shown in the image below:
Example of a link using a custom domain in Digital Manager Guru.
Attention: You can use Guru Checkout without configuring your own domain.
When using Cloudflare, you need to disable the proxy in Guru's DNS records, because if left active, the checkout opens in the wrong location.
On this page:
-
Step 1: Add Custom Domain
-
Step 2: Configure DNS records
-
Step 3: Validate DNS settings
-
What to do if validation does not return a success message?
Before you start, you need to…
-
Be an administrator or have permission to perform the following actions.
Step 1 - Add Custom Domain
You can add a custom domain to use exclusively with Guru.
Important: It will no longer be allowed for the same domain to be used in different Guru accounts.
Steps:
1 - Access the Guru admin with your username and password.
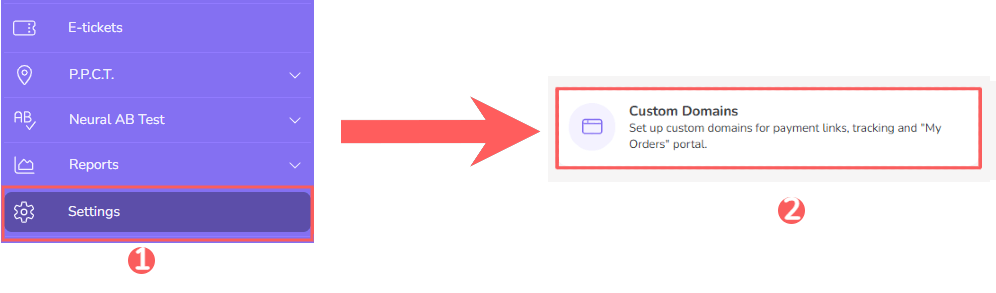
2 - In the side menu, click on Settings, and then click on Custom Domains.
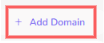
3 - In Custom Domains, click on Add Domain.
4 - Then, enter the domain to use exclusively with Guru.
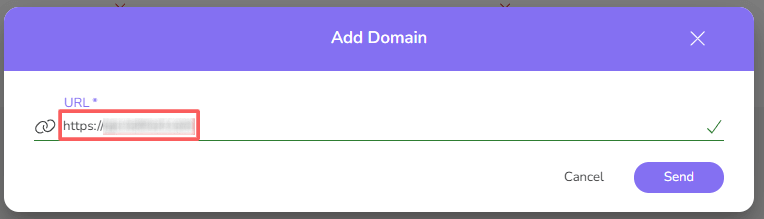
For example, if your store or website address is https://yourdomain.com, https://go.yourdomain.com can be a domain to use in Guru. We recommend using "go" as it is generic and will be useful for both checkout links and tracking links.
5 - Click on Send.
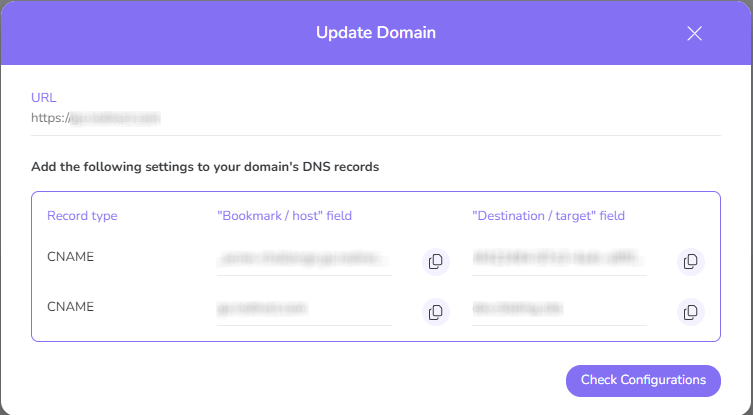
6 - Next, the information to be entered in your domain's DNS records will appear.
Step 2 - Configure DNS records
When entering your custom domain information, you must copy the provided record settings, and then configure the DNS record with your domain provider, so that Guru can use your custom domain.
Steps:
1 - When adding the Custom Domain, a screen with the data will be displayed. Copy and store the settings displayed on your screen.
2 - Access your hosting control panel with your username and password (or ask your site administrator to do this) and perform the configurations copied in step 2.1.
Step 3 - Validate DNS settings
As soon as you configure the DNS settings with your provider, validate the DNS settings on the website and then, you must validate the settings in Guru.
Steps:
1 - To validate your DNS settings, access who.is and enter your domain link.
Example: if your store or website address is https://yourdomain.com, enter this in the indicated field.
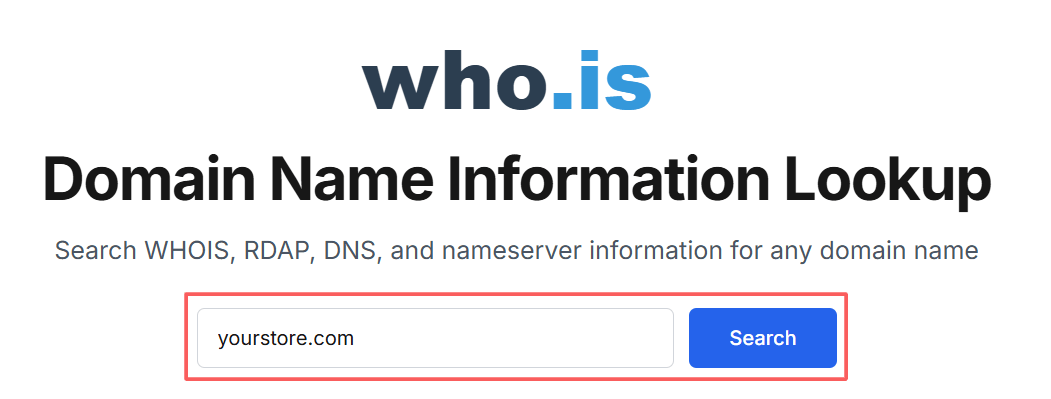
2 - Click on Search.
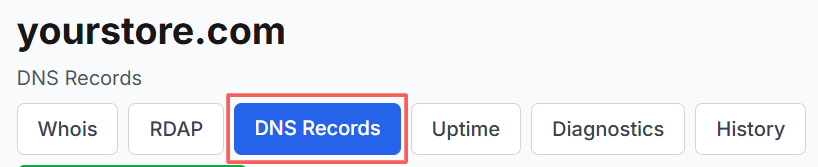
3 - Click on DNS Records.
4 - A listing similar to the example below will be presented
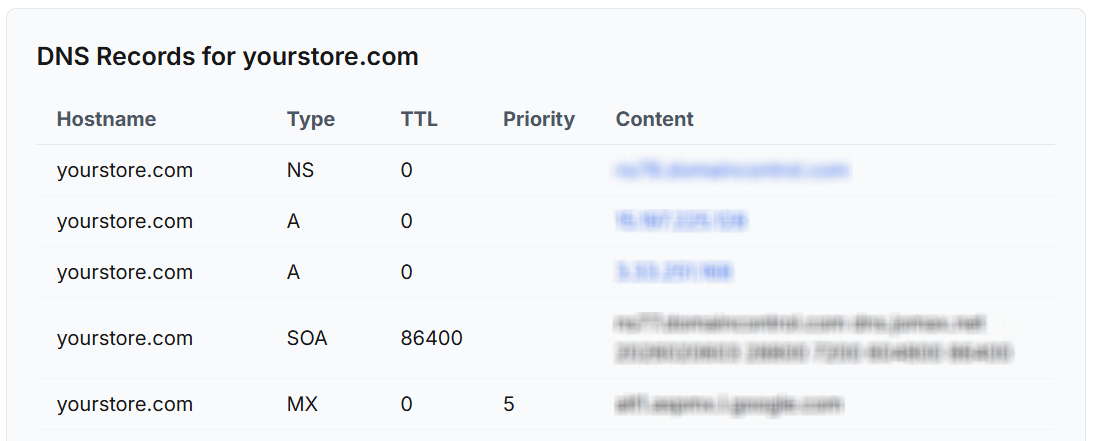
If the Guru domain does not appear, wait a while and execute step 3.4 again.
5 - If a domain line appears as per the example in the image above, return to Guru.
6 - Click on Check Configurations.
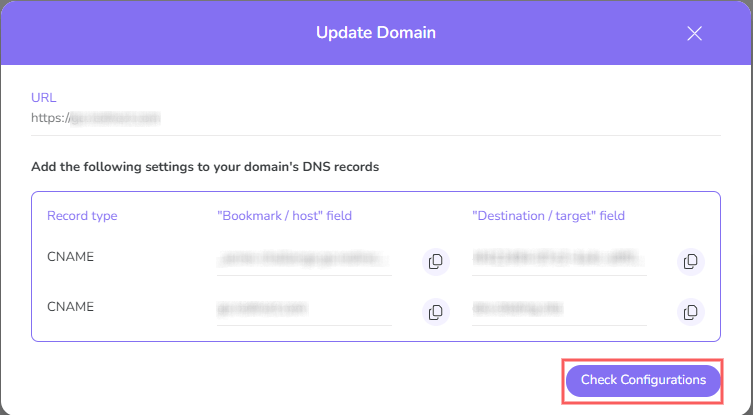
If the message displayed after checking the domain configuration status is successfully activated, wait 30 minutes for SSL validation. Once SSL is validated, your checkout and tracking links will be generated based on the configured domain.
By default, the created domain is configured for generating checkout links and tracking links. To generate checkout links on a separate domain from tracking links, create a domain for each of them. Then, click on each domain to edit and activate the desired option to determine if it is a default domain for checkout or for tracking.
(*) In some plans, only 1 custom domain can be configured. You can increase this limit by subscribing to a higher plan or changing your plan to the Plus II or Plus III category. Compare plans and operational limits at this link.
Note on Custom Domains:
Some providers (such as Go. Daddy, Google, or AWS) automatically add your domain to the end of the record. To ensure your certificate is successfully validated, when creating the CNAME record, enter only the first part of the code in the "Host/Name" field.
Example:
-
Correct: _acme-challenge.pay
-
Incorrect: _acme-challenge.pay.yourdomain.com
If the full value is entered, your provider may duplicate the domain (e.g., .com.com), preventing site activation. You can use the dns checker tool to search and verify the domain configuration.
What to do if validation does not return a success message?
If, when clicking on Validate Settings the message received is "You need to confirm domain ownership to proceed" it may be that some configuration step was not performed correctly or the data provided in the DNS server is incorrect.
To solve this problem, review all the steps in this tutorial. If the error persists, contact support via the platform's chat for assistance.